Experience firsthand how different flour types create dramatically different dough textures and strength, helping you make smarter flour choices for all your baking projects.
You'll Need#
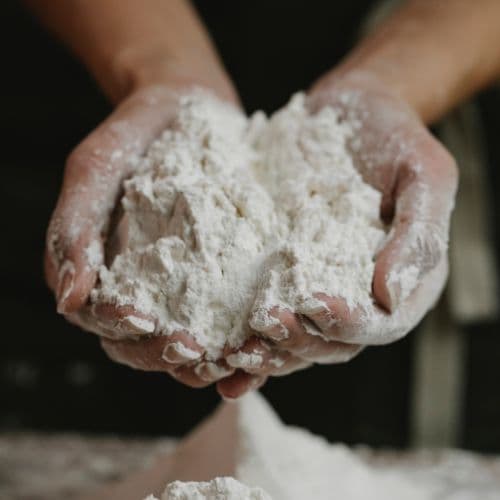
50g bread flour
50g all-purpose flour
50g cake flour
33g water for each flour type (65% hydration)
3 small bowls
Marker and tape for labeling
Quick Steps#
1. Create Mini-Doughs#
For each flour type:
Add 33g water to 50g flour
Mix until no dry spots remain
Label each sample
2. Rest & Compare#
Let all three doughs rest for 20 minutes, then observe:
Compare appearance:
Which looks smoothest?
Which appears most lumpy or shaggy?
Compare texture:
Poke each with a finger - which feels most elastic?
Which feels softest or stickiest?
3. Stretch Test#
Take a walnut-sized piece from each dough:
Gently stretch between your fingers
See how thin each goes before tearing
Note which stretches like bubble gum and which tears easily
Success Looks Like#
You should notice clear differences between the samples:
Bread flour: Stretches well, feels elastic, may form a translucent "windowpane"
All-purpose flour: Moderate stretch, tears sooner than bread flour
Cake flour: Tears easily, little elasticity, feels softer
Why It Works#
The protein content in flour directly determines its gluten-forming potential:
Bread flour (12-14% protein): Strong gluten development
All-purpose (9-11% protein): Moderate gluten development
Cake flour (7-9% protein): Weak gluten development
Quick Tips#
Take photos of your samples side by side for easy comparison
Feel free to add whole wheat flour as a fourth sample if available
Try the same test with flour brands you commonly use
Apply This To Your Baking#
Next time a recipe specifies a particular flour type, you'll understand exactly why it matters and what might happen if you substitute.