Frying Pans: Selecting the Perfect Surface for Every Cooking Task
Master stovetop cooking by understanding frying pan materials, designs, and techniques. Learn to select the ideal pan for different cooking methods, develop natural non-stick properties without harmful coatings, and maintain your pans for decades.
What You'll Learn
- Understand how different frying pan materials affect cooking performance and maintenance requirements
- Select the appropriate pan size and shape for various cooking techniques and meal volumes
- Develop proper heating and cooking techniques that create natural non-stick properties
- Establish effective cleaning and maintenance routines to extend the life of your cookware
Lesson Contents
Read through each section and complete the interactive elements as you go.
Introduction
The sizzle of ingredients hitting a hot surface. The perfect golden crust on a protein. The even caramelization that builds flavor depth. These fundamental cooking moments all depend on one critical tool: the frying pan.
A frying pan (also called a skillet) sits at the heart of daily cooking across nearly every culinary tradition. It's likely the most frequently used piece of equipment in your kitchen, yet many home cooks settle for mediocre pans that frustrate them with sticking, uneven heating, or rapid deterioration.
As a KotiChef, your relationship with your frying pans should be one of confidence and reliability. Understanding which pan to use for different tasks—and how to use it properly—transforms everyday cooking from a struggle against your equipment into a seamless expression of your culinary intentions.
The right frying pan isn't merely a tool; it's a conductor between your vision and the ingredients, allowing precise control over heat and cooking processes. Let's explore how to select, use, and maintain frying pans that will serve you faithfully for decades.
Stainless Steel: The Professional's Choice
When professional chefs equip their home kitchens, stainless steel frying pans are almost always their primary choice. This preference isn't about brand prestige or aesthetics—it's about performance, versatility, and longevity.
The Hidden Potential of Stainless Steel#
Contrary to popular belief, a properly used stainless steel pan can be remarkably non-stick. The secret lies not in special coatings but in proper technique:
Preheat the pan thoroughly before adding fat
Add appropriate fat and allow it to heat until shimmering
Add food only when both pan and fat are properly heated
Allow food to develop a crust before attempting to move it
When these steps are followed, proteins develop a natural release from the surface once properly seared. This technique, sometimes called "creating a fond," not only prevents sticking but also builds the foundation for delicious pan sauces.
Advantages of Stainless Steel#
Durability: Quality stainless pans can last a lifetime with basic care. They won't chip, flake, or deteriorate with age.
Temperature Range: Stainless steel handles extremely high temperatures without damage, making it ideal for searing meats, creating crispy potatoes, or achieving proper caramelization.
Versatility: Unlike specialized pans, stainless works with all ingredients, from acidic tomato sauces to delicate seafood, without reactivity concerns.
Cleaning: While not as effortless to clean as non-stick coatings, stainless steel can be scrubbed vigorously without damage, using abrasives if necessary to remove stubborn residue.
Health Considerations: No chemicals or coatings will ever leach into your food, even when the pan is overheated or scratched.
Oven-Safe: Most stainless steel pans can move from stovetop to oven at any temperature, allowing for techniques like finishing steaks or frittatas.
What to Look For in Stainless Steel#
The best stainless steel pans feature tri-ply or multi-ply construction, with an aluminum or copper core sandwiched between stainless steel layers. This construction combines stainless steel's durability with the superior heat conductivity of aluminum or copper.
Key quality indicators include:
Fully-clad construction (heat-conducting core extends throughout the pan, not just the bottom)
Comfortable, heat-resistant handle securely attached
Substantial weight that indicates quality materials
Smooth finish without imperfections
Balance that feels comfortable in your hand
Best Uses for Stainless Steel#
Searing proteins
Developing fond for pan sauces
Acidic ingredients like wine deglazes or tomato sauces
High-heat cooking techniques
All-purpose everyday cooking
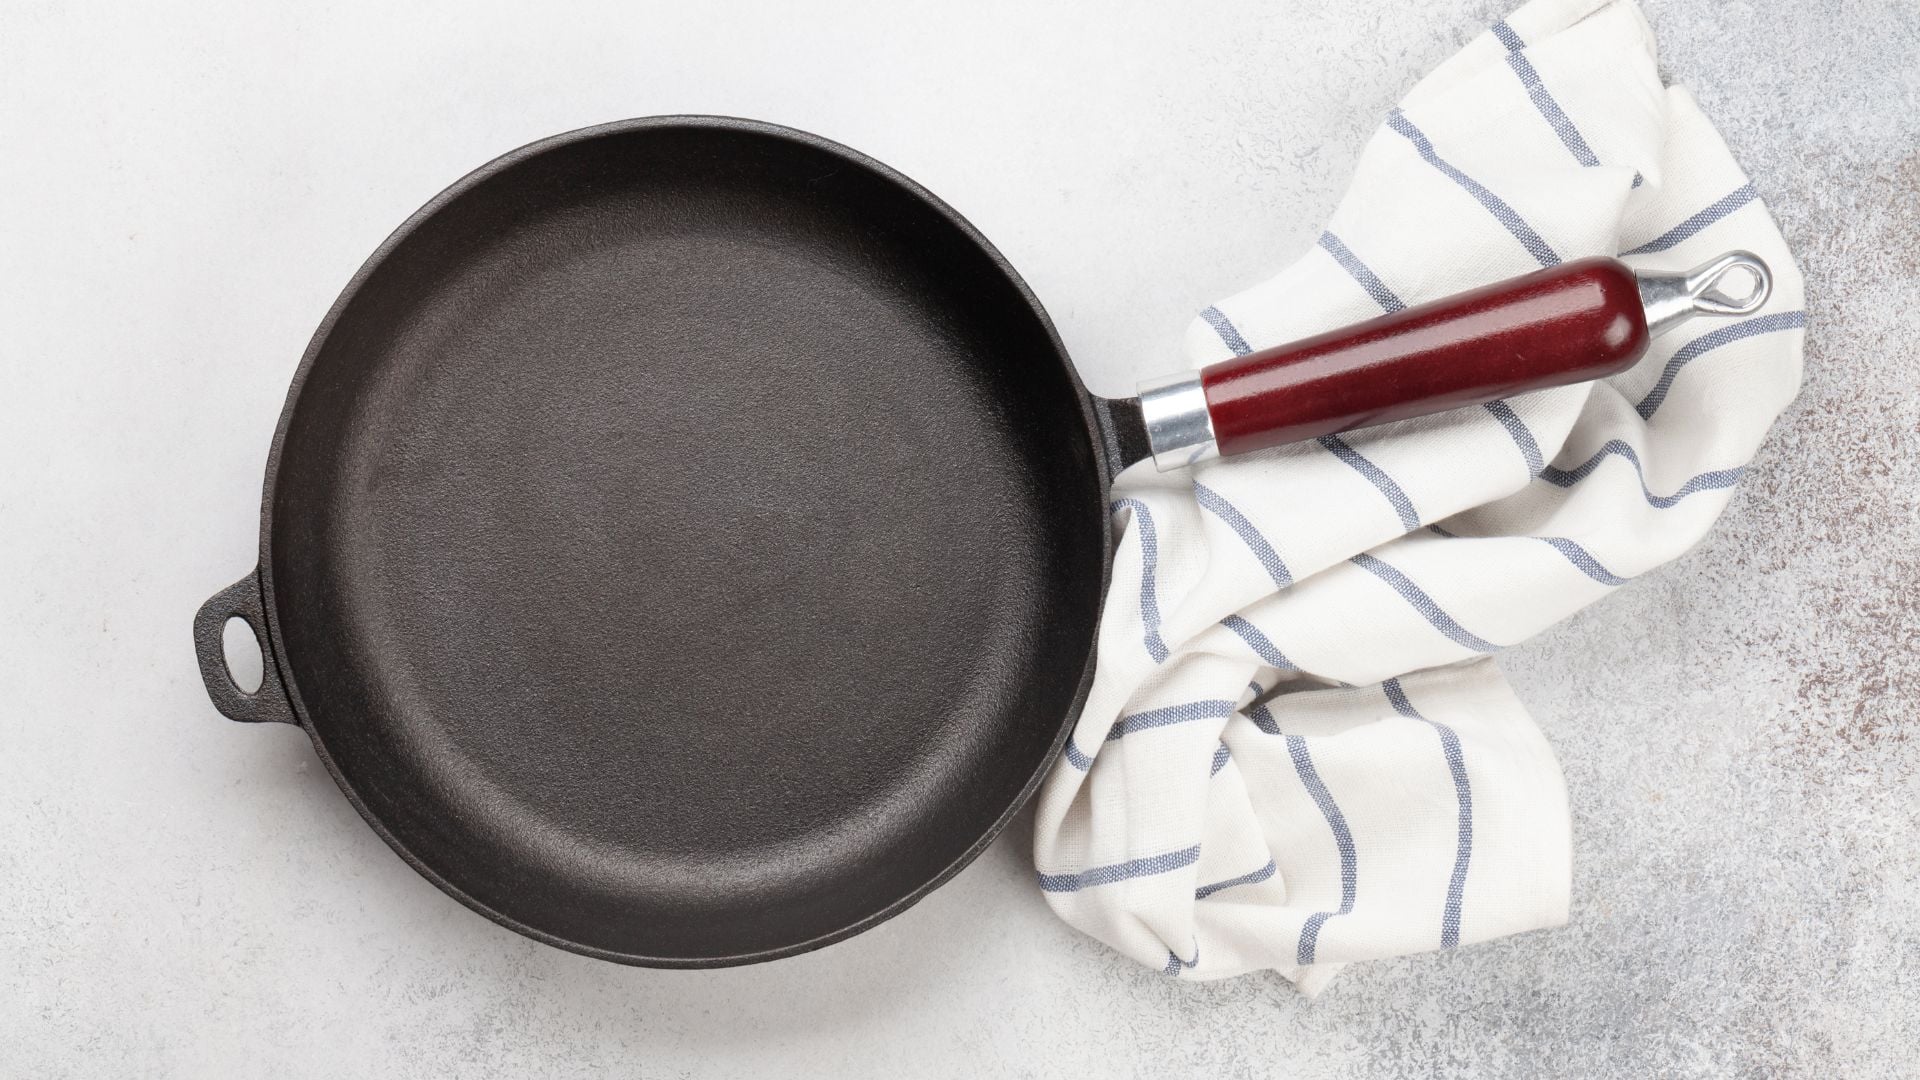
Cast Iron: The Heirloom Pan
If stainless steel represents modern versatility, cast iron connects us to cooking traditions that span centuries. These incredibly durable pans develop seasoning over time, creating a natural non-stick surface that improves with use.
Advantages of Cast Iron#
Heat Retention: Once hot, cast iron maintains temperature exceptionally well, making it ideal for even cooking and consistent results.
Natural Non-Stick: Properly seasoned cast iron develops a polymerized oil surface that provides excellent food release.
Versatility: Works on any heat source—including induction, open flame, and campfires—and transitions seamlessly from stovetop to oven.
Durability: With proper care, cast iron can last for generations. It's virtually indestructible.
Value: Quality cast iron provides professional performance at surprisingly accessible prices.
Health Benefits: Cooking in cast iron can increase the iron content of your food, particularly with acidic ingredients.
Challenges of Cast Iron#
Weight: Traditional cast iron is significantly heavier than other options, which can be challenging for some cooks.
Reactivity: Acidic foods can affect seasoning and potentially acquire a metallic taste if cooked for extended periods.
Maintenance: Requires proper drying and occasional re-seasoning to prevent rust and maintain non-stick properties.
Heating Time: Takes longer to heat evenly than more conductive materials.
Best Uses for Cast Iron#
High-heat searing
Cornbread and other skillet baking
Frying chicken or other foods requiring consistent oil temperature
Recipes that start on the stovetop and finish in the oven
Camping or outdoor cooking
Carbon Steel: The Restaurant Workhorse
Carbon steel combines many benefits of stainless steel and cast iron. Lighter than cast iron but able to develop similar seasoning, carbon steel pans are ubiquitous in professional kitchens, particularly for high-heat cooking techniques.
Advantages of Carbon Steel#
Heat Response: Heats and cools more quickly than cast iron, offering better control and responsiveness.
Seasoning Development: Forms a natural non-stick surface similar to cast iron but develops it more quickly.
Lightweight: Typically 50-70% lighter than equivalent cast iron, making it easier to handle and maneuver.
Durability: Nearly indestructible with proper care; will last for decades.
Versatility: Excellent for high-heat techniques and develops tremendous fond for sauces.
Challenges of Carbon Steel#
Maintenance: Requires initial seasoning and proper care to prevent rust.
Reactivity: Not ideal for highly acidic foods, which can strip seasoning and impart metallic flavors.
Appearance: Develops a mottled patina that some find unattractive compared to the uniform appearance of other materials.
Learning Curve: Requires understanding of proper heating and maintenance techniques.
Best Uses for Carbon Steel#
Searing steaks and chops
Stir-frying with high heat
Cooking techniques requiring pan tossing
Developing fond for pan sauces
Professional-style egg cooking (once well seasoned)
Non-Stick Coatings: Understanding the Tradeoffs
Traditional non-stick coatings (often referred to by the brand name Teflon) offer convenience but come with significant limitations that make them less suitable as primary cookware for a serious home cook.
The Reality of Non-Stick Coatings#
Most non-stick coatings are made from polytetrafluoroethylene (PTFE) or similar compounds. While these create excellent food release initially, they have several fundamental drawbacks:
Lifespan: Even with careful use, most non-stick coatings deteriorate within 2-5 years, requiring replacement.
Temperature Limitations: Cannot be safely used above medium-high heat (typically around 500°F/260°C), which prevents proper searing and many high-heat techniques.
Utensil Restrictions: Require plastic or wooden utensils to prevent scratching, limiting cooking options.
Health Considerations: When overheated, traditional non-stick coatings can release potentially harmful fumes. Scratched coatings may allow small amounts of the material to transfer to food.
Limited Culinary Range: Poor for developing fond, browning, or creating textures that require proper adhesion to the cooking surface.
Appropriate Uses for Non-Stick Pans#
Despite these limitations, non-stick pans do have appropriate uses in a well-equipped kitchen:
Cooking delicate eggs when you're still developing technique
Preparing very delicate fish
Cooking pancakes and crepes for beginners
Reheating foods that might stick to other surfaces
Alternative Non-Stick Options#
If you require non-stick properties beyond what seasoned cast iron or carbon steel provide, consider these alternatives:
Ceramic Coatings: Typically made from silicon-based materials, these provide non-stick properties without PTFE. However, they still have limited lifespan and heat tolerance.
Enameled Cast Iron: Combines cast iron's heat retention with a non-reactive glass surface. Excellent for acidic foods but less non-stick than other options.
Hard-Anodized Aluminum: Creates a harder cooking surface that resists scratching better than traditional non-stick, though still has limitations.
Copper: The Connoisseur's Choice
Copper represents the pinnacle of heat responsiveness and control, though at a premium price point that makes it less common in home kitchens.
Advantages of Copper#
Superior Heat Conductivity: Responds almost instantly to temperature changes, offering unprecedented control.
Even Heating: Virtually eliminates hot spots, providing consistent results.
Visual Appeal: Develops a beautiful patina that many find aesthetically pleasing.
Heritage Value: Quality copper pans can become family heirlooms.
Challenges of Copper#
Cost: Genuine copper cookware represents a significant investment.
Reactivity: Pure copper reacts with many foods, which is why most copper pans are lined with stainless steel or tin.
Maintenance: Requires polishing to maintain appearance (though patina doesn't affect performance).
Weight: Quality copper pans can be quite heavy due to their substantial construction.
Best Uses for Copper#
Delicate sauces that require precise temperature control
Serious candy making and chocolate work
Foods benefiting from extremely even heating
Frying Pan Design Features
Beyond material, several design elements affect a frying pan's performance:
Size Considerations#
8-inch (20 cm): Ideal for cooking single portions, omelets, or side dishes. Perfect for efficiently cooking eggs or toasting nuts.
10-inch (25 cm): The versatile middle ground that works well for most two-person meals and everyday cooking. If you only own one frying pan, this size offers the most flexibility.
12-inch (30 cm): Designed for larger family meals, cooking multiple portions at once, or ingredients that shouldn't be crowded (like mushrooms that need to brown rather than steam).
14-inch+ (35+ cm): Specialty sizes for entertaining or restaurant-style cooking. Requires a large burner to heat evenly.
Edge Profile: Straight vs. Curved#
Straight-Sided Frying Pans:
Provide more cooking surface area
Contain liquids and prevent spilling
Better for techniques that involve adding liquid after searing
Ideal for dishes that start on the stovetop and finish in the oven
Curved/Sloped-Sided Frying Pans:
Facilitate sliding food out of the pan
Allow easier tossing techniques and ingredient flipping
Better for techniques that require sliding food up the sides
Typically preferred for omelets and delicate foods
Depth Variations#
Shallow Frying Pans (1-2 inches/2.5-5 cm deep):
Promote evaporation and caramelization
Provide better access for flipping and turning
Ideal for foods that benefit from direct heat and air circulation
Deeper Frying Pans/Sauté Pans (2-3 inches/5-7.5 cm deep):
Contain splatters more effectively
Allow for additions of liquids
Work better for recipes that transition from searing to braising
Handle Design#
Long Handles: Provide leverage for tossing techniques and keep hands away from heat source, but may be unwieldy in smaller kitchens.
Helper Handles: Secondary handles opposite the main handle make moving heavier pans safer and easier, particularly for larger sizes.
Material: Stainless steel handles stay cooler than cast iron or carbon steel but will still heat up during extended cooking or in the oven.
Selecting the Right Pan for Different Cooking Techniques
Different cooking methods benefit from specific pan characteristics:
Searing#
Best choice: Heavy stainless steel, carbon steel, or cast iron Why: These materials can reach and maintain the high temperatures needed for proper Maillard reaction (browning) without damage.
Sautéing#
Best choice: Stainless steel or carbon steel Why: These materials provide the responsiveness needed for quick temperature adjustments and tossing techniques.
Pan Frying#
Best choice: Cast iron or carbon steel Why: Even, consistent heat maintains oil temperature for crispy exteriors and properly cooked interiors.
Making Pan Sauces#
Best choice: Stainless steel Why: Creates proper fond (browned bits) that forms the foundation of flavorful sauces without reactivity concerns.
Eggs and Delicate Proteins#
Best choice: Well-seasoned carbon steel or cast iron; non-stick for beginners Why: Provides food release while still allowing proper browning and flavor development.
Creating Natural Non-Stick Properties
One of the most valuable skills a KotiChef can develop is understanding how to cook with minimal sticking without relying on specialized coatings:
The Fundamental Technique#
Heat the pan thoroughly - Allow the empty pan to heat completely before adding anything.
Test with water - A drop of water should bead and dance, not immediately evaporate or sit still.
Add appropriate fat - Add oil, butter, or other cooking fat and allow it to fully heat.
Heat the fat properly - Look for shimmering with oil or foaming subsiding with butter.
Add food to hot pan - Food should sizzle immediately upon contact.
Allow proper searing before attempting to move food - Proteins naturally release when a proper crust forms.
This technique works with stainless steel, carbon steel, and cast iron. With practice, you'll find that eggs, fish, and other traditionally "sticky" foods can be cooked with minimal adhesion in any quality pan.
Maintenance and Care for Different Pan Types
Proper maintenance extends the life of your pans and improves their performance:
Stainless Steel Care#
Allow pan to cool slightly before cleaning
Soak stubborn residue in hot water
Can be scrubbed with steel wool for serious cleaning needs
Dishwasher safe but hand washing recommended for handles and longevity
Cast Iron Maintenance#
Clean while still warm using hot water and stiff brush or salt scrub
Avoid soap for well-seasoned pans (minimal soap okay for modern seasoned pans)
Dry immediately and thoroughly—first with towel, then by heating briefly
Apply thin layer of oil after cleaning if seasoning needs reinforcement
Store in dry place, potentially with paper towel to absorb moisture
Carbon Steel Care#
Similar to cast iron, but even more susceptible to rust
Never soak carbon steel
Dry immediately and thoroughly after washing
Apply light oil coating after cleaning
Build seasoning through regular use
Initial Seasoning Process (for Cast Iron and Carbon Steel)#
Scrub new pan thoroughly to remove protective coating
Dry completely
Apply very thin layer of high-smoke-point oil (like flaxseed, grapeseed, or vegetable oil)
Wipe away all excess until pan appears nearly dry
Place upside-down in oven at 450°F/232°C for one hour
Turn off oven and allow to cool completely
Repeat process 2-3 times for initial seasoning
Building Your Frying Pan Collection
A thoughtfully assembled collection of frying pans allows you to choose the right tool for each cooking task:
Essential First Purchase#
If you can only buy one quality pan, make it a 10-inch stainless steel tri-ply frying pan. This versatile option handles the widest range of cooking techniques and ingredients.
The Core Three#
An ideal basic collection includes:
10-inch stainless steel frying pan - Your everyday workhorse
12-inch cast iron skillet - For searing, baking, and high-heat applications
8-inch non-stick pan - For eggs and delicate items while developing technique
Expanding Your Collection#
As your cooking skills develop, consider adding:
10-inch carbon steel pan - For professional-style techniques and developing natural non-stick
12-inch stainless steel frying pan - For larger family meals
Small cast iron skillet (6-8 inch) - For single portions and desserts
Investment Strategy#
Quality cookware is expensive but represents excellent long-term value. Consider:
Purchasing fewer, better pans rather than complete sets of mediocre quality
Focusing first on versatile pieces you'll use daily
Viewing quality pans as investments that will last decades or even generations
Looking for factory seconds or restaurant supply stores for value
Conclusion
The humble frying pan represents one of your most important culinary investments. By understanding the strengths and limitations of different materials, you can select pans that enhance your cooking rather than frustrate it.
Remember that technique matters as much as equipment. Even the finest pan requires proper heating, appropriate fat, and good technique to perform optimally. Take time to understand how each pan in your collection responds to heat and develops cooking properties.
While trendy coatings and technological innovations come and go, the fundamental materials—stainless steel, cast iron, and carbon steel—have proven their worth across generations of cooking. These materials reward skill development rather than offering shortcuts, ultimately making you a more capable and confident cook.
Your relationship with your frying pans will evolve as you grow as a cook. What begins as a challenging learning process—managing heat, preventing sticking, developing fond—becomes intuitive with practice. Soon, you'll find yourself reaching for exactly the right pan for each cooking task, understanding how its properties will affect the final dish.
As a KotiChef, your pans are extensions of your culinary intent, transferring heat to ingredients with precision and control. Choose them thoughtfully, maintain them properly, and they'll serve you faithfully for a lifetime of delicious cooking.