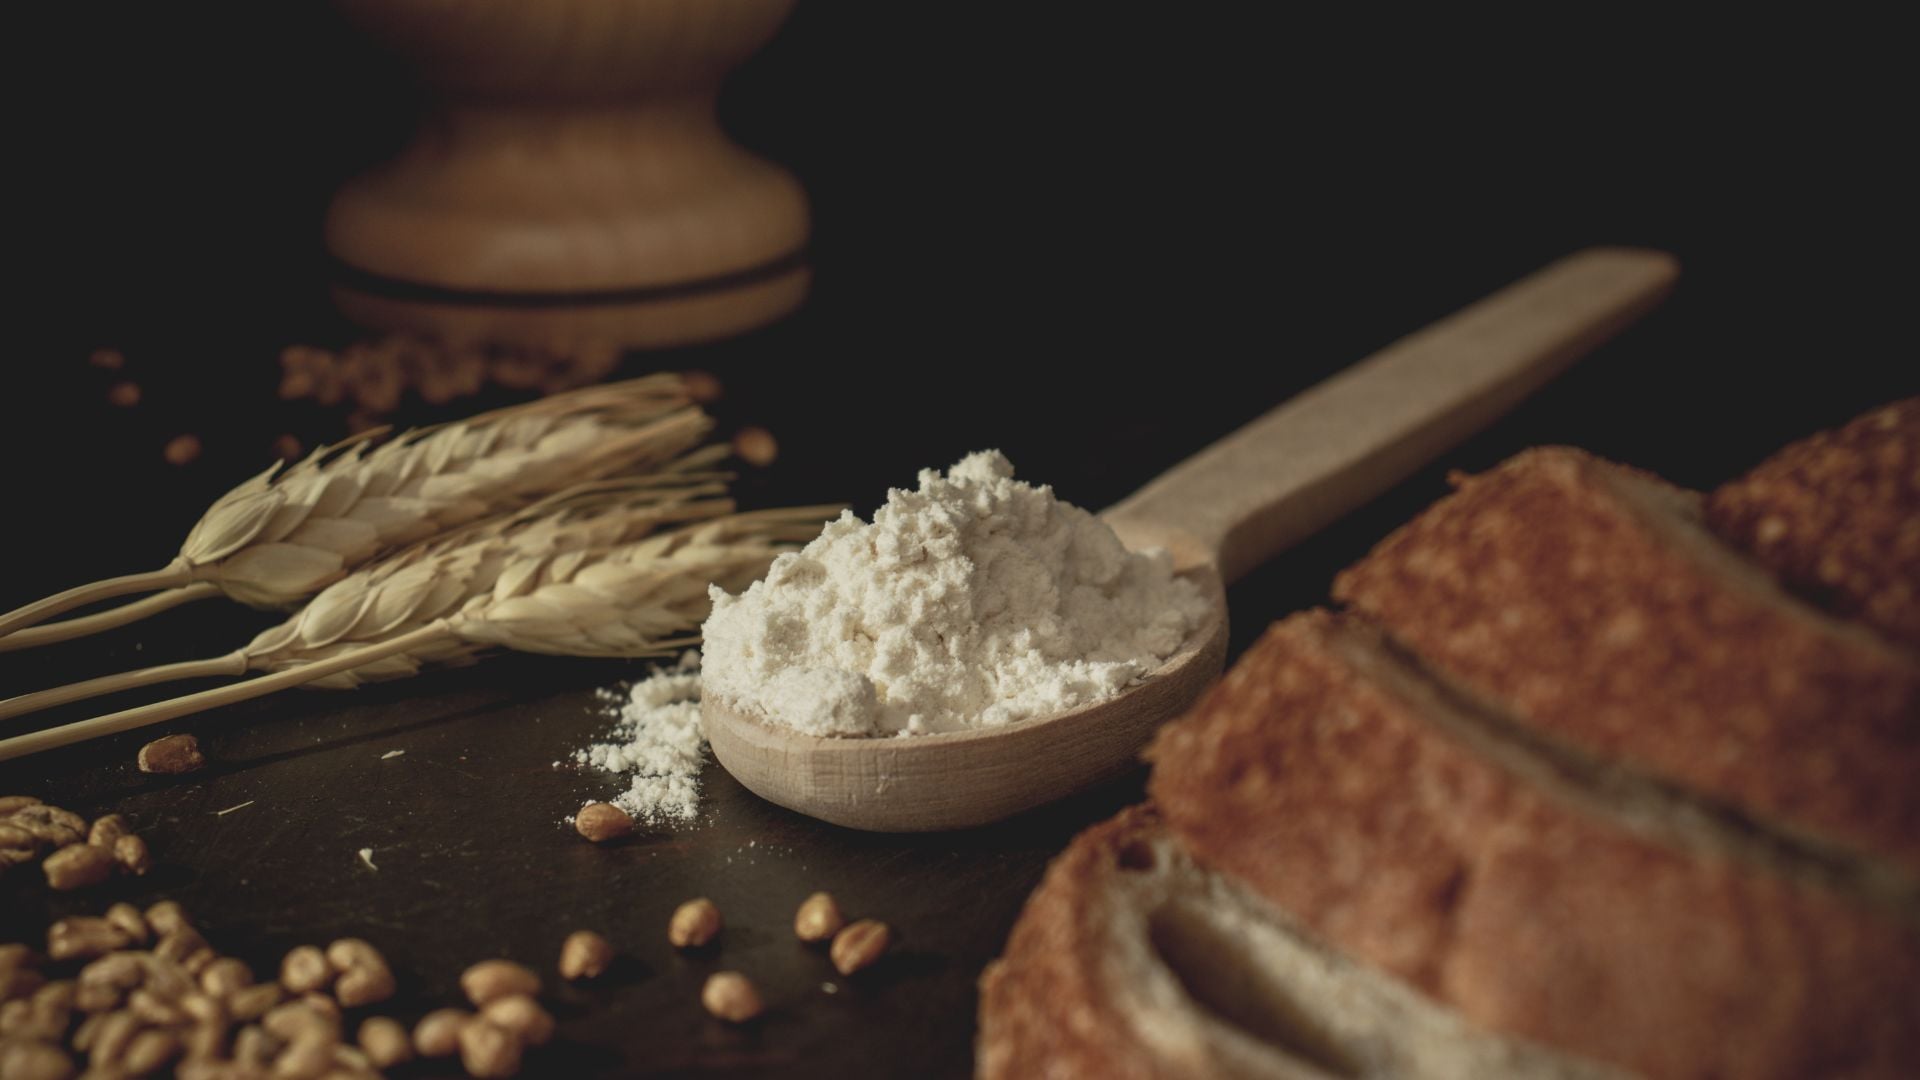
Wheat Flour: The Foundation of Baking
Discover the world of wheat flour, from varieties and protein content to white vs. whole wheat differences. Learn proper storage and handling techniques to achieve the perfect texture in all your baked goods.
What You'll Learn
- Select the right flour type for specific recipes to achieve desired textures, whether chewy breads or tender cakes.
- Use proper flour substitutions and adjustments when working with different wheat varieties to improve your baking results.
- Store and measure flour correctly to extend shelf life and ensure consistent, professional-quality results in your home kitchen.
Lesson Contents
Read through each section and complete the interactive elements as you go.
Introduction
Flour isn't just a bland white powder – it's a versatile ingredient with properties that can transform your cooking. Understanding these properties gives you the power to select the perfect flour for each recipe, troubleshoot baking problems, and create exactly the texture you're looking for in your baked goods.
In this lesson, we'll explore wheat flour from a practical perspective, focusing on what you need to know to improve your everyday cooking and baking. This lesson is divided into five sections:
Wheat Varieties and What They Mean for Your Baking
Protein Content: The Key to Texture and Structure
White vs Whole Wheat
Proper Storage of Flour
Handling Flour for Best Results
By the end of this lesson, you'll confidently select the correct flour for whatever you're baking and understand how to modify recipes to achieve your desired textures.
Wheat Varieties and What They Mean for Your Baking
Common, Durum, and Ancient Wheats#
When you pick up a bag of flour at the store, you're most likely buying common wheat (Triticum aestivum), the world's most widely grown wheat variety. This versatile grain produces the all-purpose, bread, and cake flours that fill our pantry shelves.
Durum wheat (Triticum durum) is an entirely different species with unique properties. You've encountered it most often as semolina flour, the golden-colored ingredient behind properly textured pasta. Durum is exceptionally high in protein, but it forms a less elastic gluten than common wheat, making it perfect for pasta's firm bite but less suitable for lofty bread loaves.
Semolina also has a practical application beyond pasta-making. Many bakers use it for dusting pizza peels, baking sheets, or proofing baskets. Unlike regular flour, semolina withstands higher temperatures without burning, preventing that bitter, scorched taste that can develop on the bottom of breads and pizzas. Its coarser texture also creates a barrier that helps prevent sticking without being absorbed into the dough.
Beyond these everyday options, ancient wheat varieties offer interesting alternatives:
Spelt - A distant cousin of modern wheat with a nutty flavor and more water-soluble gluten that creates a different texture in baked goods
Einkorn - The oldest wheat variety with a sweet flavor but weak gluten structure
Emmer (Farro) - Rich in protein with a robust flavor, often used in rustic breads
Understanding wheat types helps you choose the right flour for specific uses. For authentic pasta, reach for durum semolina. For pizza-making, consider dusting your peel with semolina to prevent sticking and avoid burnt flavors. And if you're looking to explore new flavors or potential digestibility benefits, ancient wheats can add distinctive character to your baking—though they typically absorb water differently and require recipe adjustments.
Hard vs. Soft Wheat: The Texture Determiners#
Common wheat is further divided into "hard" and "soft" varieties, which directly impacts your baking results.
Hard wheat has a higher protein content (typically 11-15%) and produces a stronger gluten network. This creates the structure needed for:
Chewy artisan breads with good volume
Sturdy pizza crusts that can hold toppings
Bagels with that distinctive chew
Soft wheat has lower protein content (typically 8-11%) and forms a more delicate gluten network, perfect for:
Tender cakes that melt in your mouth
Flaky, tender pie crusts
Light, soft cookies and pastries
Understanding hard versus soft wheat helps you choose the right flour for your desired texture. Bread flour comes from hard wheat, while cake and pastry flours come from soft wheat. All-purpose flour is typically a blend of both.
Protein Content: The Key to Texture and Structure
Why Protein Content Matters#
Every bag of flour contains proteins - primarily glutenin and gliadin - which transform into gluten when mixed with water. The amount of these proteins in your flour is the single most important factor that determines how your baked goods will turn out. High-protein flours form strong gluten networks that provide structure and chew. Low-protein flours are more relaxed, creating tender, delicate baked goods that melt in your mouth.
The Protein Content Spectrum#
Flour varieties exist along a spectrum of protein content. At the top end of the spectrum, we find high-protein flours (12-14%) like bread flour, high-gluten flour, and many whole wheat flours. These create strong structure and chewy textures perfect for artisan breads.
In the middle range are medium-protein flours (10-11.5%), including all-purpose flour and most European-style flours like Italian Type 00 or French T55. These versatile flours work reasonably well for most applications but excel at none.
At the lower end, we find low-protein flours (8-10%) such as pastry flour, cake flour, and self-rising flour. These create tender, delicate baked goods where too much structure would be undesirable.
The protein difference may seem small (just a few percentage points), but its impact on your baking is enormous.
High Protein = More Structure and Chew#
Creates strong gluten networks that trap gas bubbles effectively
Produces chewy textures (think artisan bread, bagels, pizza crust)
Provides structure needed for high-rising yeast breads
Handles high hydration (wet) doughs better
Requires more mixing/kneading to fully develop gluten
Low Protein = More Tenderness#
Forms less gluten, resulting in tender, delicate textures
Creates melt-in-your-mouth cakes and flaky pastries
Produces less chew and more crumble
Requires gentle handling to avoid toughness
Benefits from minimal mixing
By understanding these relationships, you can predict how different flours will behave in your recipes and make smart substitutions.
Adjusting Recipes Based on Protein Content#
Understanding protein content gives you the power to modify recipes for better results. If your baked goods are consistently too tough or chewy, try switching to a lower protein flour, reducing mixing or kneading time, or increasing fat or sugar in the recipe (these inhibit gluten development).
Conversely, if your baked goods lack structure or collapse, consider using a higher protein flour, increasing mixing or kneading time (for bread), or reducing fat or liquid slightly.
These adjustments allow you to troubleshoot baking problems and customize recipes to your preference, whether you want a chewier pizza crust or a more tender muffin.
White vs Whole Wheat
Understanding the Anatomy of Wheat#
Each grain consists of three main parts: the endosperm (80-85% of the grain), which is mostly starch and protein; the bran (10-14%), the protective outer layer rich in fiber and minerals; and the germ (2-3%), the embryo of the seed packed with nutrients and healthy fats.
When grain is milled into white flour, the bran and germ are removed, leaving only the starchy endosperm. Whole wheat flour, on the other hand, contains all three parts of the grain. This fundamental difference is what creates such distinct characteristics in your baking.
The Journey from Grain to Flour#
By removing the bran and germ for white flours, millers create a product that's consistent, stable, and lets the proteins mix easily. White flour develops stronger gluten networks because there's nothing interfering with the protein's ability to connect and form those vital elastic strands. White flour also has a longer shelf life since the oils in the germ aren't present to go rancid.
Whole wheat flour is more like a rugged outdoorsman – heartier, more robust, and carrying everything it needs. Because it contains the entire wheat kernel, it delivers more fiber, vitamins, and minerals. This nutritional benefit comes with distinctive baking characteristics. The sharp edges of bran particles can actually cut through developing gluten strands like tiny knives, which is why whole wheat breads often don't rise as high as their white counterparts. The oils in the germ also mean whole wheat flour has a shorter shelf life and needs to be stored more carefully.
Working Successfully With Different Wheat Flours#
When venturing beyond all-purpose white flour, you need to make adjustments to your recipes. Whole wheat flour, for instance, is particularly thirsty – it absorbs significantly more water than white flour because the bran acts like a sponge. Without accounting for this, your whole wheat bread could turn out dry and crumbly.
A good approach when substituting whole wheat for white flour is to start conservatively. Replace just 25-50% of the white flour with whole wheat in your favorite recipes. This way, you'll gain nutritional benefits while maintaining familiar texture. As you grow more comfortable, you can gradually increase the ratio.
When you increase the amount of whole wheat in your recipes, add just a touch more water to the dough. Pay close attention to the feel of the dough to inspect when there's enough added water. Also, give the dough a bit more time to rest after mixing. This extra time allows the bran to fully hydrate, softening it and improving the final texture of your baked goods.
If you're working with 100% whole wheat, patience becomes especially important. Whole wheat doughs typically take longer to rise, and the resulting bread is naturally denser. Techniques like the autolyse method – mixing just the flour and water first and letting them rest for 20-30 minutes before adding other ingredients – can dramatically improve your results by giving the flour time to fully hydrate before you develop the gluten.
Proper Storage of Flour
Flour might seem like one of the most stable ingredients in your pantry, but it's actually alive in many ways. It contains enzymes that can remain active, natural oils that can go rancid, and it readily absorbs moisture and odors from its surroundings. Understanding these characteristics is essential for maintaining flour quality and achieving consistent results in your baking.
When stored properly, flour remains stable for quite a long time. When stored improperly, it can deteriorate in ways that affect both flavor and performance. And when you're ready to bake, how you introduce the flour to other ingredients makes all the difference.
Keeping Flour Fresh#
The enemies of flour freshness are heat, light, moisture, and air. These elements can trigger rancidity, especially in whole grain flours where the oil-rich germ is present.
For everyday baking with white flour, a cool, dark pantry in an airtight container will suffice. Mason jars or even the original bag closed with a clip and placed in a larger container both work well. This simple approach protects against moisture and pests while keeping the flour fresh for months.
Whole wheat and other whole grain flours benefit from more protective storage. If you use them frequently, keep a small amount in the pantry and store the rest in the refrigerator or freezer. The cold temperatures dramatically slow the oxidation of oils in the germ, extending freshness from weeks to months. Before using refrigerated or frozen flour, allow it to come to room temperature to ensure your recipe behaves as expected.
Signs of Quality and Freshness#
Fresh flour should have a neutral, clean smell with subtle hints of whatever grain it comes from. Whole wheat might have a nutty aroma, while white flour should smell almost neutral. Any sharp, sour, or "off" odors indicate rancidity, and the flour should be discarded.
Visual inspection matters too. Look for an even, consistent color appropriate to the flour type. White flour should be, well, white to slightly cream-colored. Whole wheat flour will be tan to light brown. Any discoloration, especially gray or yellow patches, suggests spoilage or pest activity.
The texture of flour reveals much about its condition and quality. It should feel smooth between your fingers, not gritty or clumpy. Flour naturally absorbs moisture from humid environments, which can lead to compaction. If your flour develops hard lumps that don't break apart easily, moisture has begun to affect it, potentially allowing mold to develop.
As a general guideline, white flour stays fresh for about a year in proper storage, while whole wheat flour remains at its best for only 1-3 months at room temperature (though freezing extends this significantly).
Handling Flour for Best Results
Perhaps no aspect of handling flour impacts your baking success more than how you measure it. The difference between a light cup of flour and a packed cup can be as much as 30% by weight—easily turning your tender cake into a dense brick.
Professional bakers measure by weight for a reason. A cup (2,4dl) of flour can weigh anywhere from 4.3 to 5.6 oz (120 to 160 grams) depending on how it's measured, but weight on a scale is always reliable. If you bake, investing in a digital kitchen scale will transform your results with consistent, predictable outcomes.
If you're measuring by volume (although I don't recommend it), the technique matters tremendously. Never scoop the measuring cup directly into the flour bag or canister—this compacts the flour, giving you much more than the recipe intends. Instead, use the "fluff, sprinkle, level" method:
Fluff the flour with a spoon to aerate it
Gently sprinkle it into your measuring cup until heaping
Level it off with a straight edge without compacting
This method gets you closest to the standard weight by volume that most recipes expect.
Working With Flour in Your Recipes#
The way you incorporate flour into your recipes significantly affects texture and structure. For most baked goods, a light touch yields the best results. Overmixing develops too much gluten, turning what should be tender into something tough.
In recipes where tenderness is prized (muffins, cakes, pancakes), mix just until the flour disappears. The batter might look slightly lumpy, and that's perfectly fine. Those small lumps will disappear during baking, while overmixing in pursuit of perfect smoothness would develop excess gluten.
For bread and pizza dough, the approach is different. In those you actually want to develop gluten, but even then, how you incorporate flour matters. Adding the flour gradually and allowing rest periods during mixing gives the flour time to fully hydrate, resulting in better gluten development and easier handling.
Temperature matters too. Cold flour mixed with warm liquids can cause temperature shock, affecting yeast activity and gluten development. For best results in bread baking, try to have all ingredients at approximately room temperature.
Sifting: Necessary or Nostalgic?#
Many older recipes call for sifting flour, but is this step still necessary? It depends on your goals. Modern flour is generally pre-sifted at the mill, so the traditional purpose of removing lumps and foreign matter is largely obsolete.
However, sifting still serves valuable purposes in certain situations. It aerates the flour, making it lighter and easier to incorporate into delicate batters. It also helps distribute other dry ingredients evenly when sifted together with flour. For angel food cakes and other very delicate baked goods, sifting can make a noticeable difference in the final texture.
For most everyday baking, whisking the flour briefly in the bowl before measuring achieves adequate aeration without requiring a special tool. Save sifting for those recipes where the lightest possible texture is crucial.