The American Cookie

KotiChef
The American Cookie

The American Cookie

Learn to make perfect cookies with mix-and-match components. Discover how different bases, mix-ins, and baking techniques create endless cookie possibilities that suit any occasion.

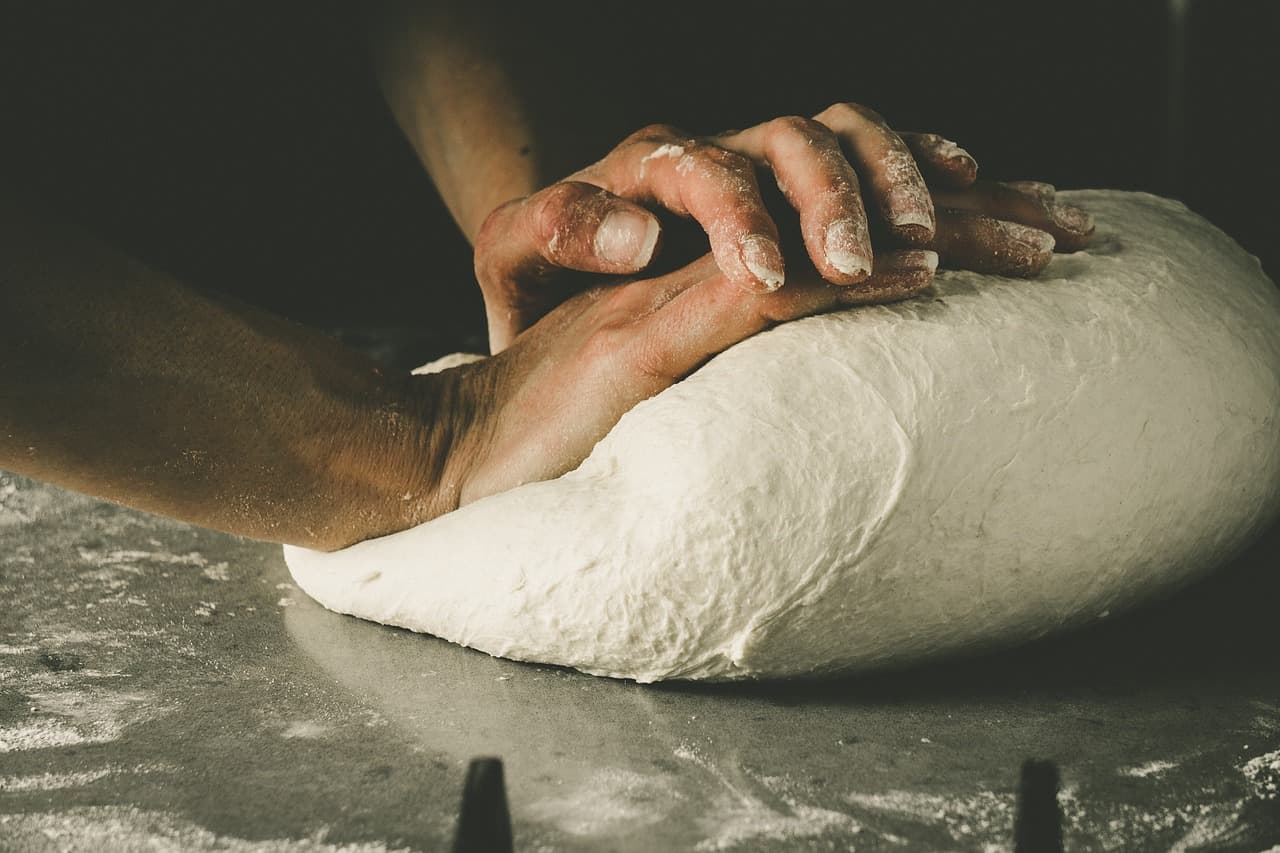
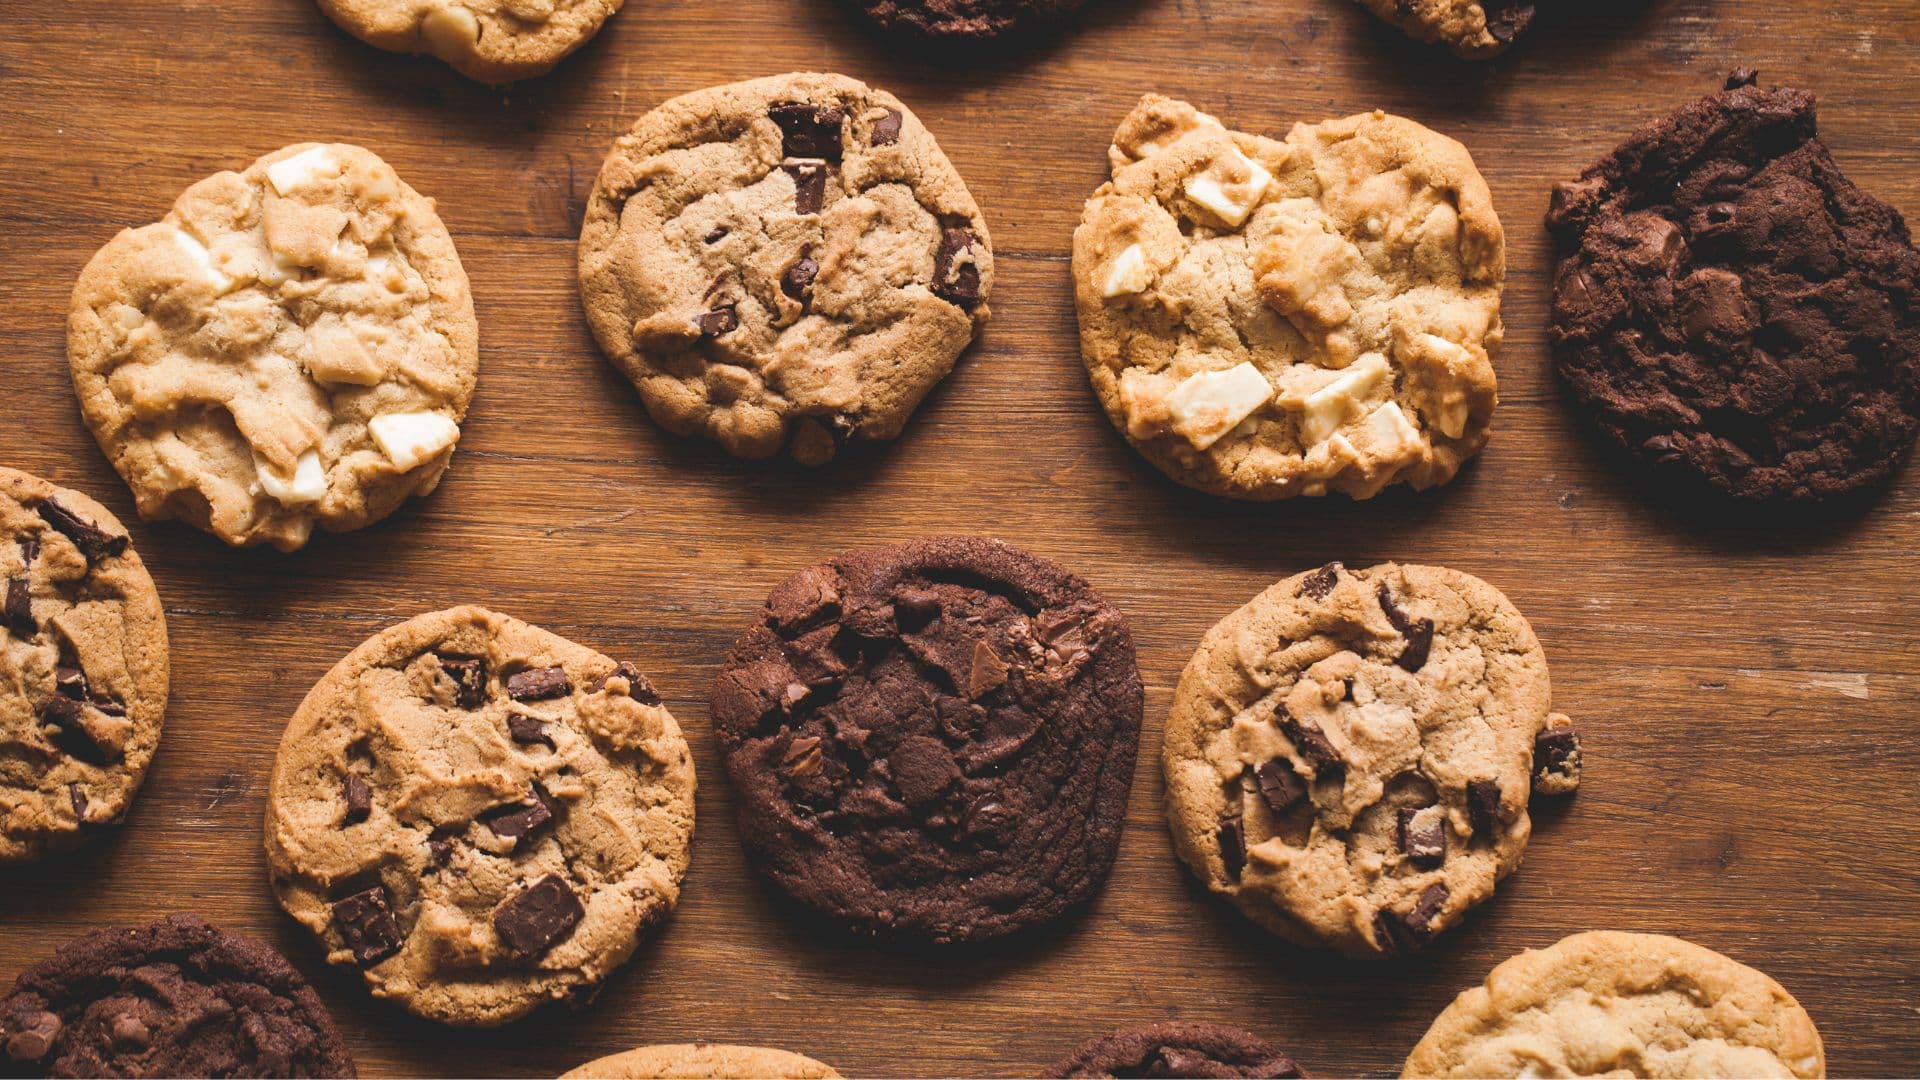
Cookies have been a beloved treat in American households since the 1700s, evolving from simple Dutch teacakes into the countless varieties we enjoy today. What makes these foundation cookies special is their incredible versatility—they represent the core techniques and principles behind countless beloved cookie recipes, from chocolate chip to oatmeal raisin.

At their heart, great cookies balance just a few fundamental elements: a fat-sugar-flour base that provides structure and primary flavor, carefully chosen mix-ins that add complexity and texture, and a baking method that determines the final consistency. When these three components harmonize, the result is that perfect cookie experience—whether you prefer yours chewy, crisp, soft in the middle, or uniformly crunchy.

Mastering this modular approach to cookies gives you more than just a sweet treat—it provides a framework for endless creativity in your kitchen. Once you understand how each component affects the final result, you'll never need to search for another cookie recipe again. Instead, you'll have the confidence to create your own signature cookies, adapting to available ingredients, personal preferences, or specific occasions. This isn't just a recipe; it's a template for cookie mastery that will serve you for years to come.

Equipment Needed

  • Kitchen scale
Recipe Contents

Part 1: The Cookie Base

The cookie base serves as the foundation for any great cookie, providing structure, carrying the primary flavor, and determining the final texture. This crucial component is what distinguishes a cookie from other baked goods—it creates that perfect balance of chewiness and crispness through the careful combination of fat, sugar, flour, eggs, and leavening agents. The type of fat used (butter, brown butter, oil) and the method of combining ingredients fundamentally shapes both the flavor profile and texture of the finished cookie.

Success in creating an excellent cookie base hinges on proper technique: creaming fats and sugars to incorporate air, mixing just enough to develop structure without toughening the dough, and understanding how ingredient temperatures affect the outcome. Equally important is recognizing how each ingredient functions—sugars contribute not just sweetness but moisture retention and caramelization, while fats provide tenderness and flavor. Mastering these principles allows you to adapt confidently, knowing how changes in ingredients or proportions will affect your final creation.

Part 2: The Mix-ins

Mix-ins transform an ordinary cookie base into something extraordinary, adding layers of flavor, texture contrasts, and visual appeal. These elements create pockets of interest throughout the cookie—whether through the gooey melt of chocolate, the nutty crunch of toasted pecans, or the chewy tartness of dried cranberries. Mix-ins are what personalize a cookie, turning a simple sweet treat into a distinctive signature creation that reflects your taste preferences and culinary creativity.

The art of incorporating mix-ins requires understanding both quantity and technique. Too many additions can overwhelm the base and prevent proper binding, while too few may disappear into the dough. The timing of incorporation matters as well—folding in delicate ingredients at the end prevents breakage, while spices might benefit from being mixed with dry ingredients to ensure even distribution. Size is equally important; chopping mix-ins to the right dimension ensures they distribute properly throughout the dough and create the intended textural experience in each bite. Mastering these principles allows you to confidently create cookies with perfect balance between base and mix-ins.

Part 3: The Baking Method

The baking method is the final decisive factor that transforms your carefully prepared dough into the perfect cookie. It encompasses everything from how you shape the dough to the temperature of your oven and the duration of baking. This component determines whether your cookies spread into thin, crispy discs or remain as thick, soft pillows; whether they have crackling tops or smooth surfaces; and whether they achieve that coveted balance of crisp edges and chewy centers. The method you choose should complement your base and mix-ins to achieve your ideal cookie texture.

Success in the baking stage requires attention to detail and understanding of time and temperature relationships. The thickness and shape of your cookie, the temperature of your dough before baking, the placement on the baking sheet, and even the type of sheet used all significantly impact the final result. Proper spacing prevents cookies from merging, while rotating pans ensures even browning. Learning to recognize visual cues of doneness rather than relying solely on timing is crucial, as cookies continue to set after removal from the oven. Mastering these principles gives you precise control over the textural outcome of your cookies, regardless of which base or mix-ins you've selected.

Our Signature Recipe

This is our signature combination, perfected through testing. Ready to cook as-is, or customize it to your taste.

Servings:
12
For The Cookie Base:

Ingredients

  • 275 gall-purpose flour100% ratio
  • 225 gunsalted butter81% ratio, softened to room temperature
  • 200 ggranulated sugar71% ratio
  • 100 glight brown sugar36% ratio, packed
  • 2 large eggs21% ratio, room temperature
  • 2 tspvanilla extract4% ratio
  • 1 tspbaking soda2% ratio
  • 0.5 tspsalt1% ratio
For The Mix-ins:

Ingredients

  • 175 gchocolate chipscan be milk, dark, or a combination
  • 1 tbspcocoa powderoptional for enhanced chocolate flavor

Equipment Needed

  • Kitchen scale
Part 1: The Cookie Base - Classic Butter Cookie Base
  1. Cream the butter and sugars: Beat softened butter, granulated sugar, and brown sugar on medium speed for 3-4 minutes until light and fluffy. This step is crucial as it incorporates air into the dough, creating a tender texture. Look for the mixture to lighten in color and increase slightly in volume.

  2. Add the eggs and vanilla: Mix in eggs one at a time, incorporating each fully before adding the next. Add vanilla extract. The mixture may look slightly curdled, which is normal. This stage adds moisture and helps bind ingredients together.

  3. Incorporate dry ingredients: In a separate bowl, whisk together flour, baking soda, and salt. Add to the wet ingredients on low speed, mixing just until no dry streaks remain. Overmixing develops gluten, resulting in tough cookies, so stop when the flour just disappears. The dough should be soft but not sticky.

Part 2: The Mix-ins - Chocolate Mix-ins
  1. Choose the right chocolate: Select high-quality chocolate with at least 50% cocoa content for best melting properties. Chop chocolate bars into irregular chunks for varied texture, or use packaged chips for convenience. The size affects how the chocolate melts—larger pieces create gooey pockets while smaller pieces distribute more evenly.

  2. Time the addition correctly: Fold chocolate into the cookie dough as the final step after all other ingredients are incorporated. Use a wooden spoon or spatula and make gentle folding motions to avoid overmixing. Proper folding preserves the air incorporated during creaming while ensuring even distribution.

  3. Consider temperature: For defined chocolate chunks that hold their shape, add chocolate at room temperature. For a more marbled effect, slightly warm the chocolate before adding. The dough should look generously studded with chocolate but still cohesive. Each cookie from a 1-tablespoon portion should contain several visible chocolate pieces.

Part 3: The Baking Method - Standard Drop Method
  1. Prepare for baking: Preheat oven to 350°F (175°C) with rack in the middle position. Line baking sheets with parchment paper or silicone mats to prevent sticking and promote even browning. This temperature allows cookies to spread gradually and brown properly before drying out.

  2. Portion the dough: Use a cookie scoop or tablespoon to portion dough into 1½ tablespoon balls, spacing them 2 inches apart on the baking sheet. This consistent sizing ensures even baking. For thicker cookies, roll the portions into tall balls; for thinner cookies, slightly flatten the tops with your palm.

  3. Bake and cool properly: Bake for 10-12 minutes, rotating the pan halfway through if your oven has hot spots. Look for golden edges with slightly paler centers—cookies will appear underdone but continue baking from residual heat. Let cookies cool on the sheet for 5 minutes before transferring to a wire rack. This rest period allows them to set up properly, achieving the ideal balance of crisp edges and tender centers.

Share This Recipe

Stay Updated with KotiChef

Subscribe to our newsletter to be the first to know about new features, lessons, recipes and tools. We'll keep you informed about everything we're cooking up.

Join our community to stay informed about new features and content. No spam, unsubscribe anytime.