Pan-Frying: Controlled Browning for Perfect Results
Master pan-frying for crispy exteriors and tender interiors. Learn when to choose pan-frying over searing or deep frying, and execute perfect technique every time.
What You'll Learn
- Know when to choose pan-frying over searing, sautéing, or deep frying based on your cooking goals
- Prepare ingredients and equipment for consistent browning success
- Read visual, audio, and aroma cues to control heat and timing
- Execute patient technique while troubleshooting problems in real-time
Lesson Contents
Read through each section and complete the interactive elements as you go.
Introduction
You've probably experienced this: one evening your pan-fried salmon turns out restaurant-perfect with a golden crust and flaky interior. The next week, using what seems like the same technique, you end up with either a greasy mess or a burnt exterior with raw inside. The difference lies in understanding what pan-frying actually accomplishes and how to control the process.
Pan-frying creates controlled browning through direct contact with the pan surface while using enough oil to conduct heat evenly. This technique sits precisely between the gentle movement of sautéing and the complete oil submersion of deep frying. When you master pan-frying, you gain the ability to create crispy exteriors on thick pieces of food while cooking them completely through.
The key to consistent results lies in understanding what your senses tell you during the cooking process. Your eyes, ears, and nose provide constant feedback about temperature, browning progress, and doneness. Learning to interpret these signals transforms pan-frying from guesswork into reliable technique.
This lesson will teach you to recognize when pan-frying is your best choice, how to set up for success, and most importantly, how to read what's happening in your pan so you can adjust and perfect your results every time.
Pan-Frying vs. Other Techniques
Understanding when to pan-fry requires recognizing how it differs from similar techniques and why these differences matter for your cooking results.
Searing creates rapid surface browning at very high heat, typically as the first step before finishing the food elsewhere. The intense heat quickly develops flavor compounds through Maillard reactions, but the short time prevents interior cooking. Think of searing a thick steak before roasting it - you're using maximum heat for minimum time to create surface flavor before gentler oven heat cooks the interior.
Pan-frying cooks food completely from raw to done using moderate heat and partial oil submersion. The moderate temperature allows enough time for heat to penetrate thick pieces while still achieving surface browning. The gradual browning develops more complex flavors than quick searing because the reactions have time to fully develop.
Deep frying submerges food completely in oil, causing it to float and cook from all directions simultaneously. The oil surrounds the food entirely, creating rapid, even heat transfer that cooks and browns all surfaces equally.
The crucial difference between pan-frying and deep frying lies in contact with the pan surface. Deep-fried food floats and cooks evenly from all sides. Pan-fried food maintains contact with the pan, creating controlled browning zones because the contact side receives direct heat while the top receives gentler heat through the oil and air.
This ground contact provides unique advantages: you develop fond (flavorful browned proteins and sugars that stick to the pan), create textural contrast between the deeply browned contact side and the gentler top surface, and gain control over exactly where and how much browning occurs. The direct pan contact also creates more intense browning reactions than the oil-mediated heat of deep frying.
Use this technique for thick pieces that need time for heat to penetrate while developing a crispy exterior - fish fillets, pork chops, chicken thighs, and thick vegetable slices. The moderate heat gives the interior time to cook through while the oil conducts heat evenly for surface browning. The controlled, one-sided browning followed by gentler second-side cooking creates more complex textures and flavors than uniform cooking methods.
Preparation and Setup
Success in pan-frying begins before you turn on the heat. Understanding why each preparation step matters helps you adapt the technique to different ingredients and situations.
Ingredient preparation determines your final results because surface conditions control heat transfer. Pat proteins completely dry because surface moisture creates steam that prevents the high-temperature browning reactions you want. When water hits hot oil, it immediately vaporizes, creating a steam barrier between the food and oil that keeps temperatures too low for proper browning. This is why wet fish steams instead of developing crispy skin.
Room temperature ingredients cook more evenly because heat penetrates at predictable rates. Cold centers act as heat sinks, slowing interior cooking while exteriors continue browning. Remove thicker proteins from refrigeration 45-60 minutes before cooking. Thinner cuts like fish fillets need only 20-30 minutes. This temperature equilibration prevents burnt exteriors with raw centers.
Season proteins properly based on thickness and timing. For thick cuts like steaks and chops, salt at least 45 minutes before cooking to allow proper penetration and surface drying. The salt initially draws out moisture, but given time, it dissolves and penetrates back into the protein while the surface redries. For thin cuts like fish fillets, season just before cooking since they don't need deep salt penetration. If you've marinated or pre-seasoned food, pat the surface completely dry before pan-frying to remove excess moisture that would prevent browning.
Oil selection affects both heat transfer and flavor development. Choose fats that can handle moderate heat without breaking down into bitter compounds. Refined coconut oil, avocado oil, and ghee work excellently for pan-frying with neutral flavors and high smoke points. Extra virgin olive oil performs well despite common misconceptions about its heat tolerance, though it's often too expensive for the quantities pan-frying requires. Animal fats like lard or duck fat create excellent flavor and browning when available.
The amount of oil matters because it determines heat transfer efficiency. Use enough oil to come one-third to one-half way up the sides of your food. This depth ensures the oil can conduct heat evenly around the submerged portion while the exposed top surface develops differently. Too little oil creates uneven heating and poor browning because the food sits on hot spots. Too much oil essentially becomes shallow deep-frying, eliminating the controlled browning zones that make pan-frying unique.
Pan selection influences heat distribution and fond development. Heavy-bottomed pans distribute heat more evenly because thermal mass prevents hot spots that cause uneven browning. Stainless steel, cast iron, and carbon steel all excel at pan-frying - they develop excellent fond for future pan sauces and create superior browning when you use proper technique. These materials require slightly more attention to prevent sticking, but mastering them builds better cooking skills and avoids the health concerns associated with non-stick coatings.
Choose a pan size that fits your food without overcrowding because crowded pans lower oil temperature through thermal mass. When you add too much cold food to hot oil, the oil temperature drops below the point where browning occurs, creating steam instead of the high-heat reactions you want.
Reading Your Pan - Visual, Audio, and Aroma Cues
Pan-frying success depends on interpreting the constant feedback your senses provide. Understanding why these signals occur helps you recognize what's happening and adjust accordingly.
Visual cues reveal molecular activity in your oil and food. Cold oil sits still because its molecules move slowly. As it heats, oil begins moving and shimmering as molecules gain energy and create convection currents. This shimmer indicates the oil has enough energy to effectively transfer heat to your food. Smoking means the oil has exceeded its useful temperature and fat molecules are breaking down into bitter compounds.
Test readiness by dropping in a small breadcrumb. Ready oil creates immediate, vigorous bubbling because the water in the breadcrumb instantly vaporizes. No bubbling means insufficient heat for the browning reactions you want. Violent bubbling or dramatic splattering means excessive heat that will burn surfaces before interiors cook.
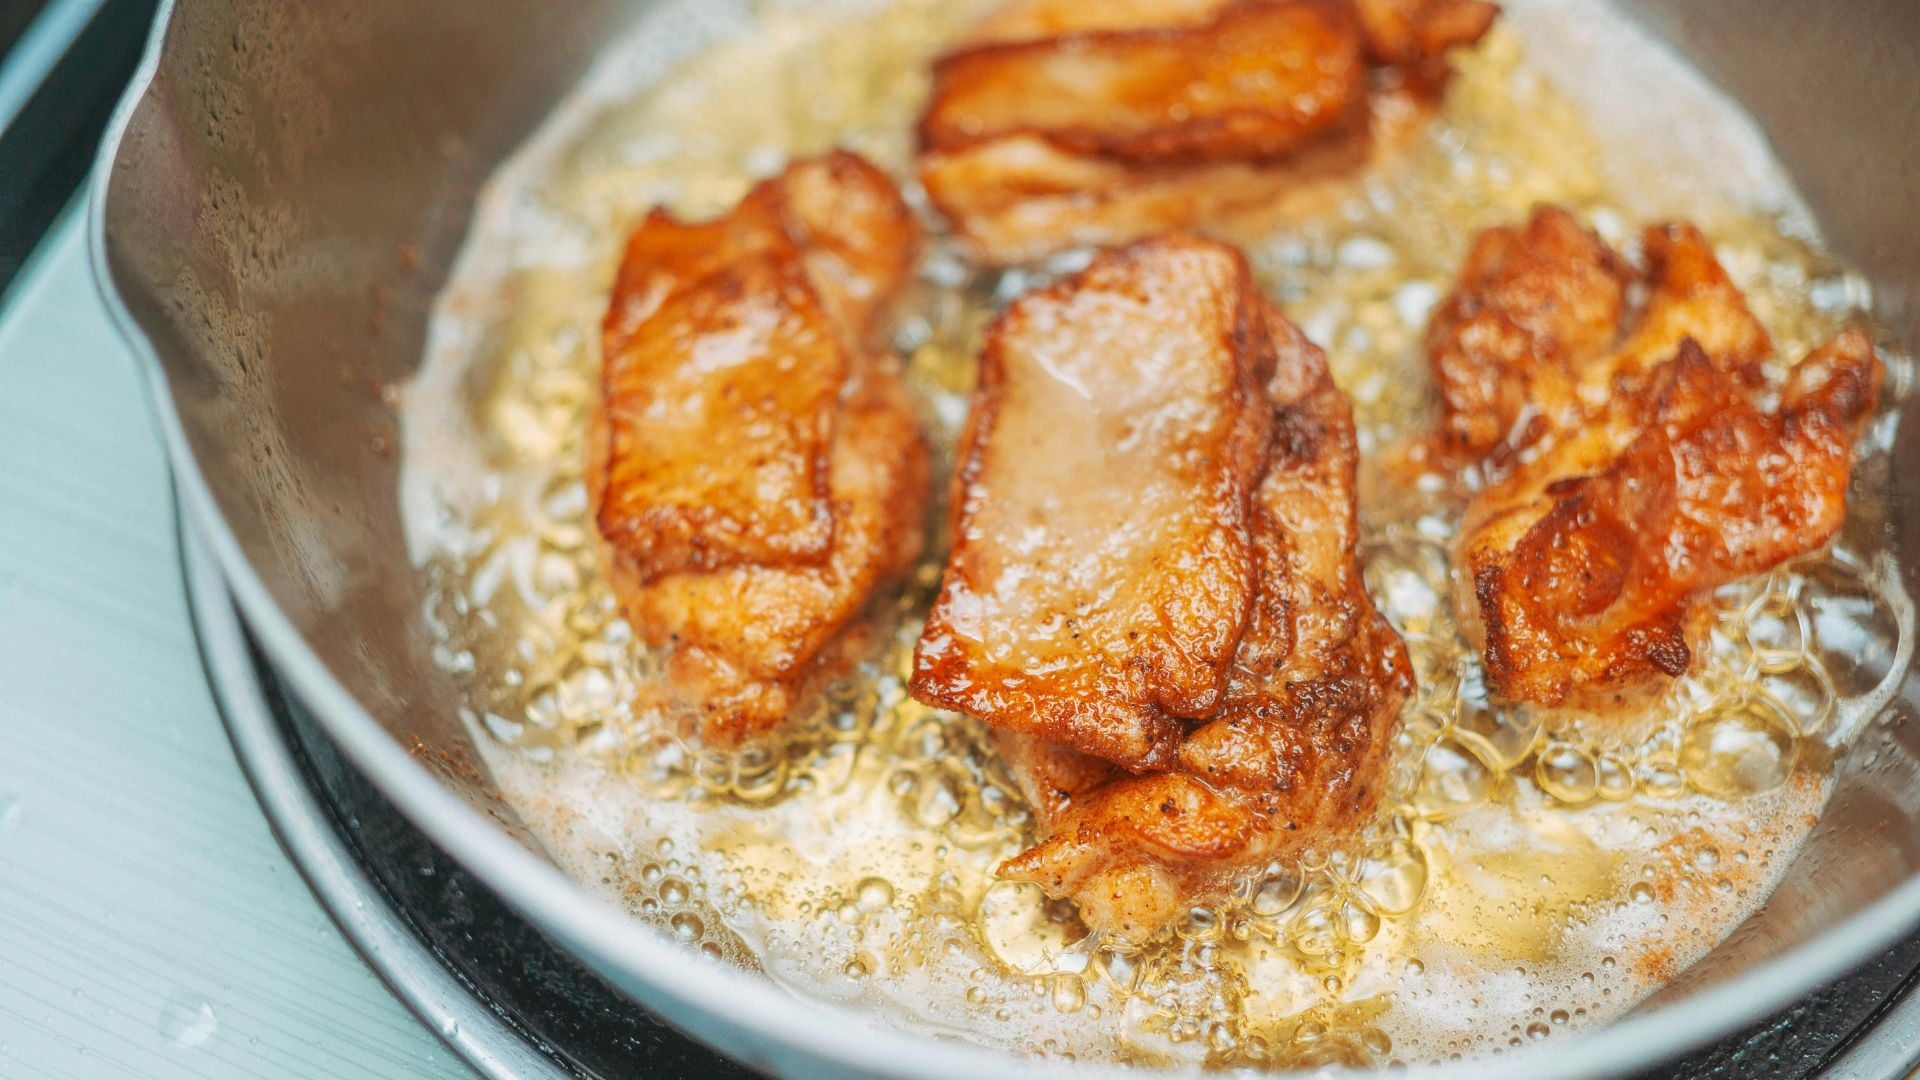
During cooking, watch the edges of your food where you can see the oil's activity. Properly heated oil creates gentle, steady bubbling around the food edges as surface moisture evaporates. This bubbling should be active but controlled - excessive bubbling indicates too much heat that will burn the outside, while no bubbling means temperatures too low for browning.
Audio cues reveal the stages of moisture evaporation and browning. The initial sizzle when food hits oil comes from surface moisture instantly vaporizing. This sound should be strong and confident, indicating proper oil temperature. A gentle hiss means insufficient heat for browning reactions; violent crackling suggests too much heat that will burn the surface.
Listen for sound changes as cooking progresses. The initial vigorous sizzle gradually mellows as surface moisture evaporates and browning reactions begin. These browning reactions produce less dramatic sounds than moisture evaporation, so when the sound becomes gentler and rhythmic, browning progresses well. Silent cooking usually means insufficient heat for the chemical reactions that create flavor and texture.
Aroma reveals the difference between desirable browning and destructive burning. Properly browning food releases rich, complex aromas as amino acids and sugars undergo Maillard reactions - the same reactions that make bread crusts and roasted coffee smell appealing. These scents develop gradually and intensify as reactions progress.
Burnt smells appear quickly and distinctly because they come from different chemical reactions - the breakdown of proteins and fats into harsh compounds. If you detect sharp, acrid odors, the temperature has exceeded what's useful for cooking and will create bitter flavors.
Heat management throughout cooking prevents runaway reactions. Start with moderate heat to warm oil gradually and evenly. Once cooking begins, adjust temperature to maintain the reaction rate you want - reduce heat if browning progresses too quickly for the interior to keep up, increase if reactions aren't occurring.
Monitor fond development continuously because it shows you exactly how your heat control affects the food. Good fond appears golden-brown with appealing aromas as proteins and natural sugars caramelize against the pan surface. Dark or black fond means excessive heat has pushed these reactions into burning, creating bitter compounds that ruin both the current dish and any future pan sauce.
Execution and Troubleshooting
Pan-frying requires patience and discipline to achieve consistent results. Understanding why problems occur helps you prevent them and recover when things go wrong.
The discipline of stillness separates successful pan-frying from common mistakes. Once food enters the hot oil, resist the urge to move it immediately because proteins need time to undergo browning reactions and release naturally from the pan surface. Moving food too early interrupts these reactions and tears the developing crust.
When food is ready to flip, it releases easily because the proteins have coagulated and contracted, breaking their bond with the pan surface. Check readiness by gently lifting one edge - if it releases easily and shows golden-brown color, the chemical reactions are complete and flipping is safe.
The strategic flip: Slide a thin spatula completely under the food, supporting it fully before lifting. Flip away from yourself to avoid oil splatter. The second side typically cooks faster because the pan and oil have reached optimal temperature and the food has already begun cooking from the inside.
Troubleshooting common problems:#
Food sticks despite proper setup: This happens when proteins haven't finished coagulating and releasing from the pan surface. Don't force it - increase heat slightly to accelerate the browning reactions and wait longer. Scraping damages both the developing crust and your pan.
Browning too fast, interior still raw: Your heat is too high for the thickness of your food, causing surface reactions to outpace heat penetration. Reduce heat immediately and consider moving the pan off the burner briefly to prevent burning while the interior catches up.
Oil smoking and spattering violently: This indicates either excessive temperature (oil molecules breaking down) or hidden moisture (causing explosive vaporization). Remove from heat immediately, let the pan cool slightly, pat any visible moisture, and restart with lower heat.
Uneven browning: Usually caused by uneven heat distribution from warped pans, overcrowding (which creates temperature variations), or incorrect oil depth that leaves some areas without proper heat conduction.
Setting up for pan sauce success: Monitor fond development throughout cooking because it shows you the quality of your browning reactions. Good fond appears golden-brown and smells appealing as proteins and natural sugars caramelize against the pan surface. After cooking, pour off excess oil while preserving this flavorful foundation. If fond appears dark or smells burnt, discard it because bitter compounds will ruin your sauce.
Each pan-frying session teaches you how heat, time, and ingredients interact. Pay attention to cause and effect - notice how different heat levels change browning speed, how various foods respond to the same technique, and how small adjustments create big improvements. This understanding develops into reliable intuition that makes successful results predictable rather than lucky.
Conclusion
Pan-frying mastery comes from understanding the technique's unique advantages and learning to read the constant feedback your senses provide. You now know how pan-frying differs from searing and deep frying, when to choose this technique, and how to set up for success.
More importantly, you understand how to interpret the visual, audio, and aroma cues that guide proper execution. These sensory skills transfer to many other cooking techniques and build the foundation for confident, intuitive cooking.
The patience required for proper pan-frying - allowing food to brown undisturbed, waiting for natural release, reading progression through your senses - develops cooking discipline that improves all your kitchen work. Each time you practice this technique, you're building skills that make you a more capable and confident cook.
Your next lesson will explore creating pan sauces from the fond you develop during pan-frying. This connection shows how mastering one technique opens doors to more advanced cooking skills, building your capabilities systematically rather than randomly.
Practice pan-frying with different proteins and vegetables to develop your sensory awareness. Trust the process, pay attention to what your senses tell you, and remember that consistent technique produces consistent results. You now have the knowledge to make every pan-frying experience successful.