Steak

Steak

Steak

Master steak cooking through understanding rather than rigid recipes. Learn how different cuts, thicknesses, and seasonings work together so you can create perfect steaks for any occasion.

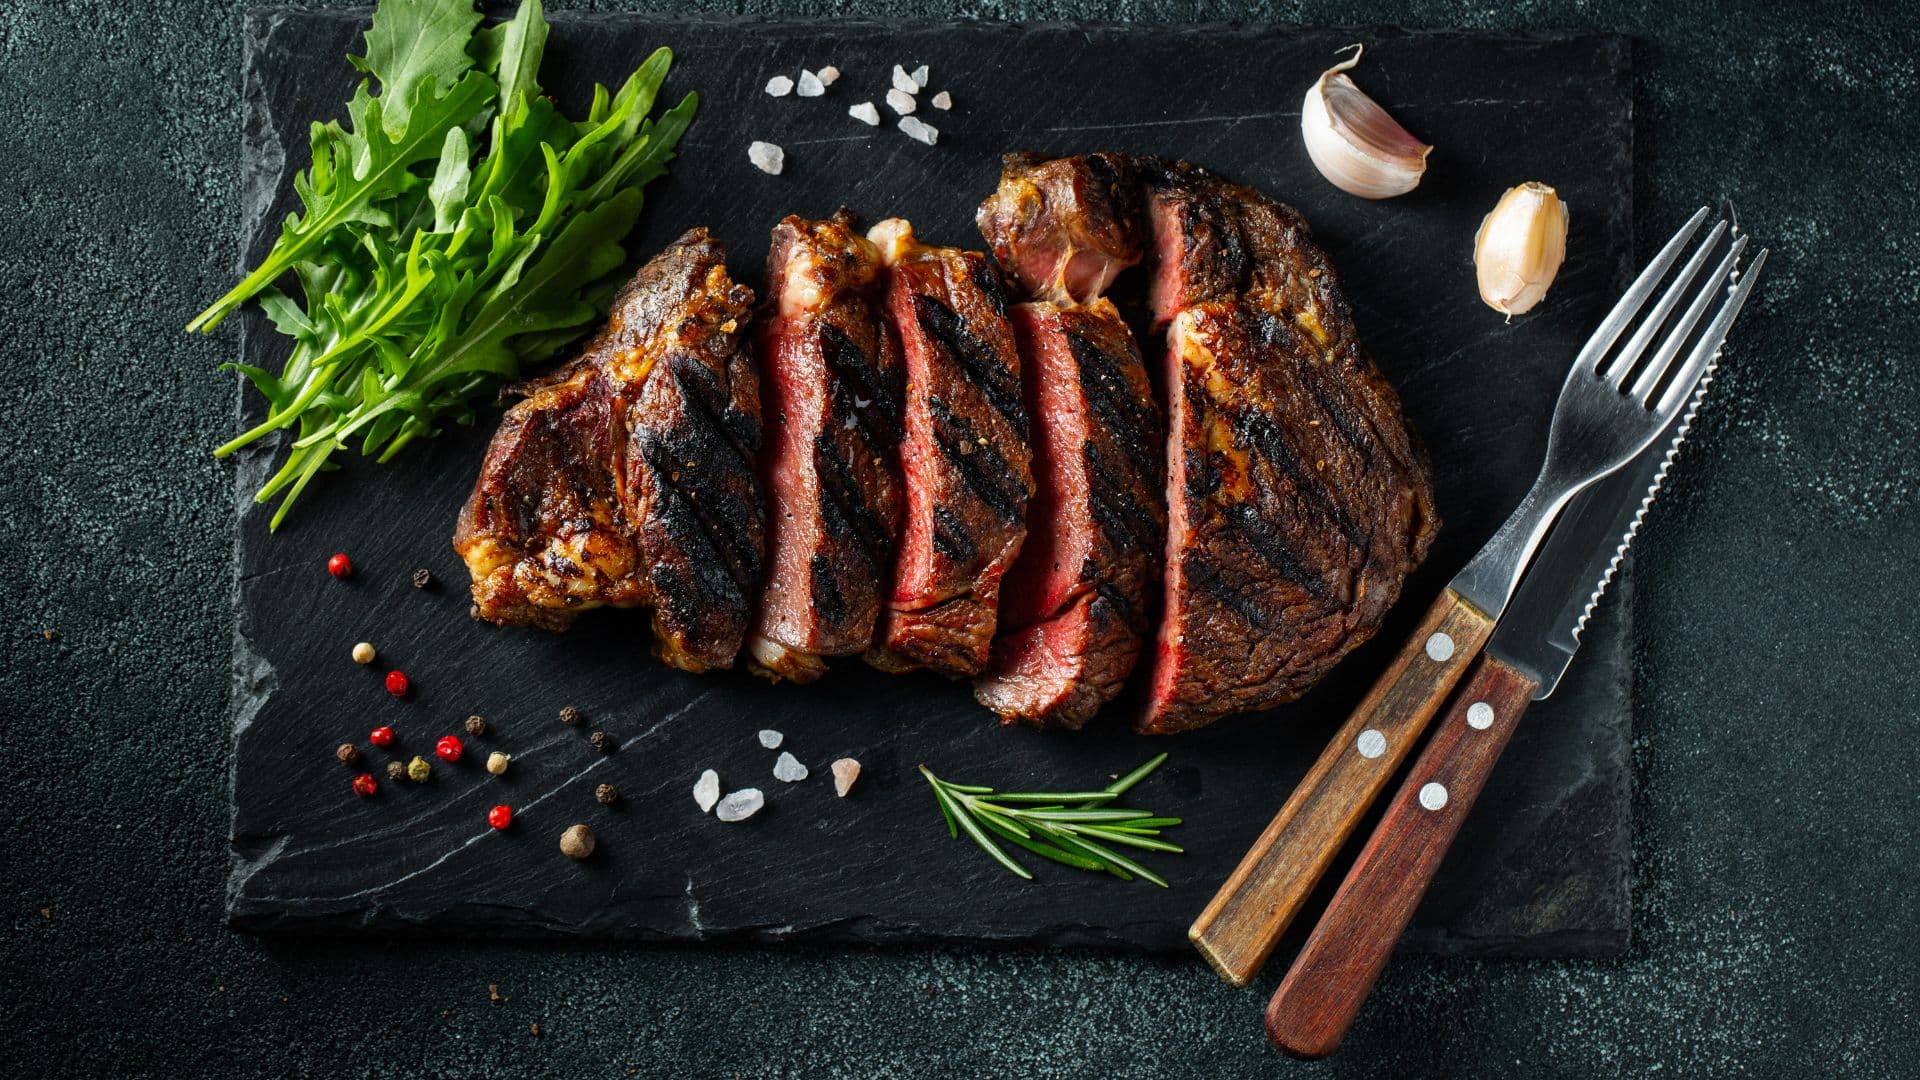
Steak represents the pinnacle of simple cooking - a perfect piece of meat, properly seasoned and cooked with skill. Yet despite its apparent simplicity, steak intimidates many home cooks who worry about ruining expensive cuts or struggle with inconsistent results. This guide transforms steak cooking from guesswork into understanding by breaking it down into fundamental, mix-and-match components.

Rather than memorizing specific recipes for each cut, you'll learn how different steaks behave, why thickness determines cooking method, and how various seasonings enhance natural flavors. By understanding these core principles, you can confidently approach any steak - whether it's a splurge-worthy ribeye or an everyday sirloin - and cook it to perfection using the techniques that work best for your goals and equipment.

This modular approach reflects how professional cooks think about steak: not as separate recipes, but as applications of universal principles. Once you master these fundamentals, you'll have the knowledge to create restaurant-quality results at home, regardless of which cut you choose or what flavors appeal to you on any given day.

Equipment Needed

  • Searing skillet
  • Chef's knife
  • Cutting board
Recipe Contents

Part 1: The Cut of Meat

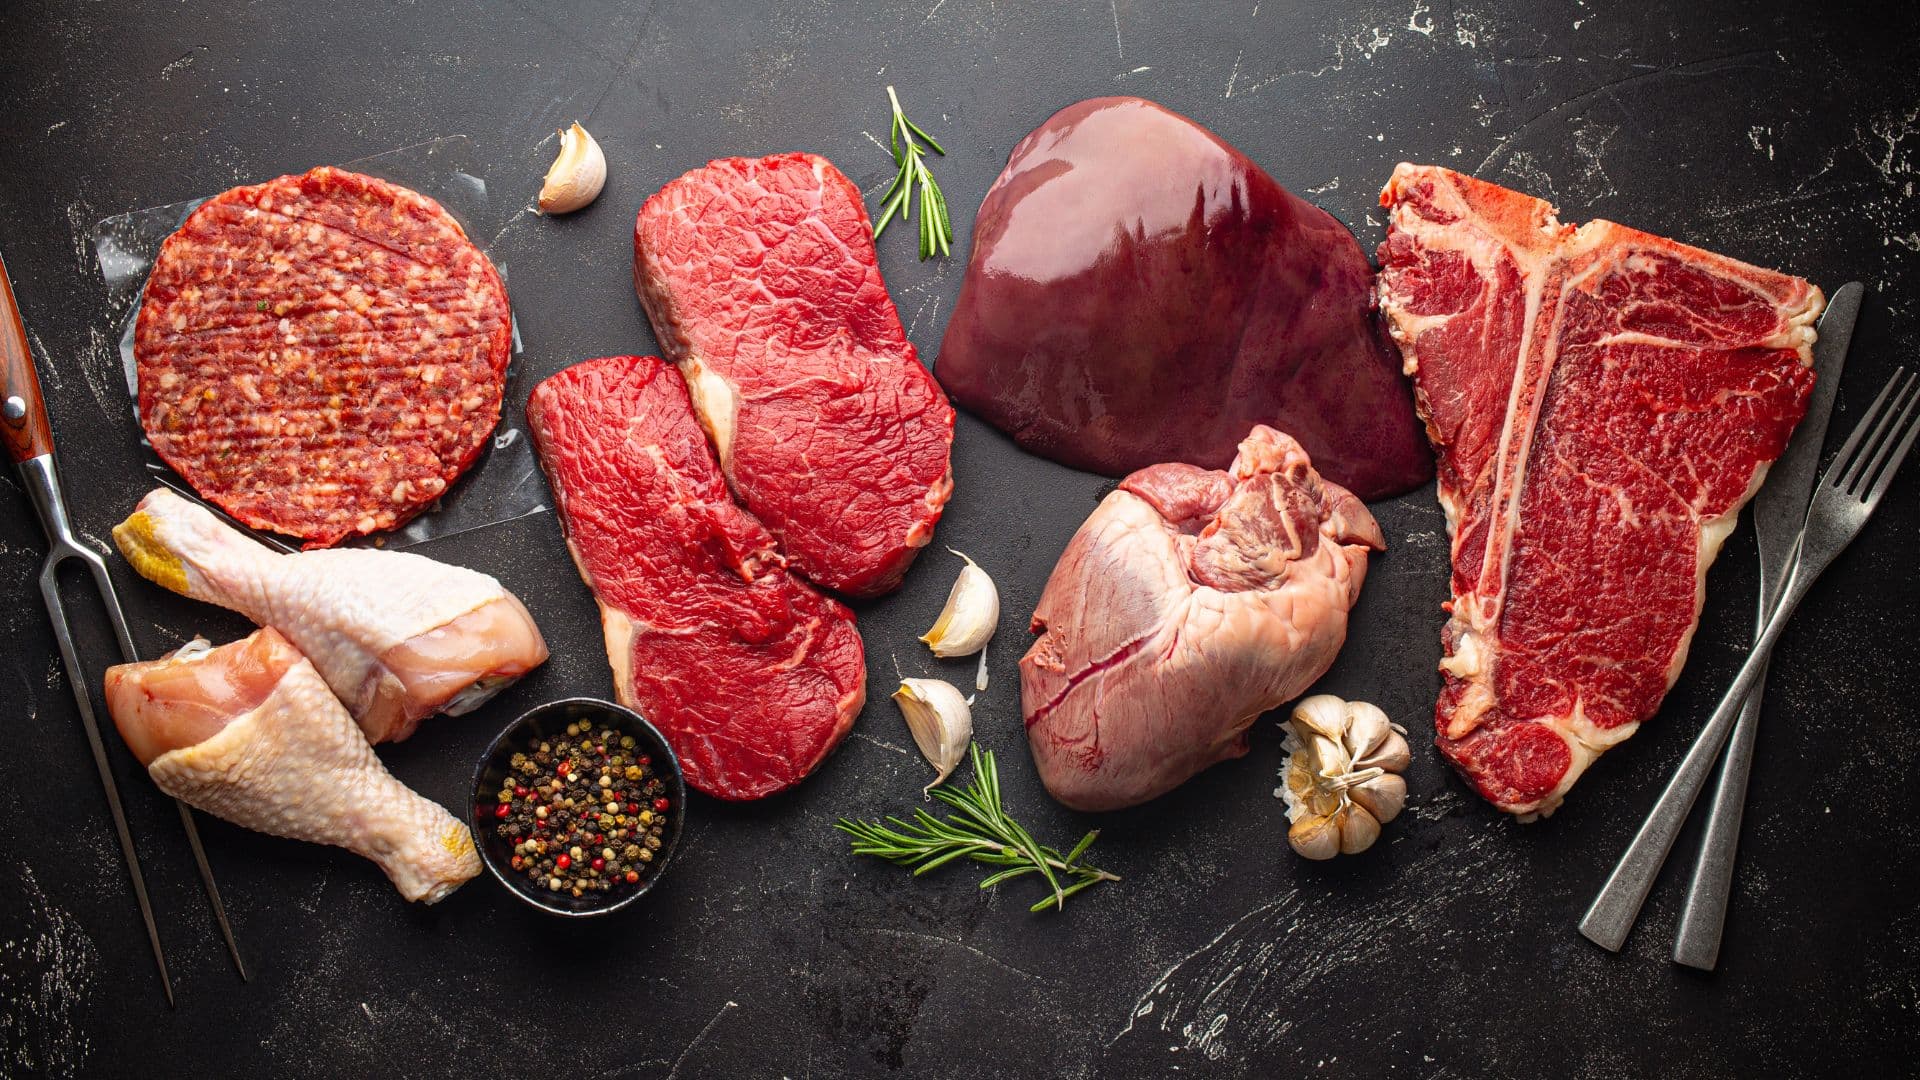
Different cuts contain varying amounts of fat, connective tissue, and muscle fiber direction. Fat content affects how forgiving the cut is during cooking - more marbled cuts stay juicy even if slightly overcooked. Muscle fiber direction determines how tender the final result feels when you chew it. Understanding these differences helps you adjust your technique for consistently excellent results.

The cut you choose also determines your ideal thickness and cooking approach. Some cuts shine when cooked thick and allowed to develop a gradient from crust to center. Others perform best when kept thinner for quick, even cooking that preserves their natural tenderness.

Part 2: The Preparation & Cooking

Heat moves slowly through meat, creating a temperature gradient from the hot surface to the cooler interior. Thin cuts cook quickly with direct heat, developing a crust while the interior reaches target temperature simultaneously. Thick cuts require different strategies - you can either cook gently first then sear, or sear first then finish gently.

The key is matching your method to your thickness and desired outcome. Thin cuts give you a higher ratio of crust to interior. Thick cuts allow for a greater gradient of doneness from edge to center, which many people prefer in premium steaks.

Part 3: The Seasoning

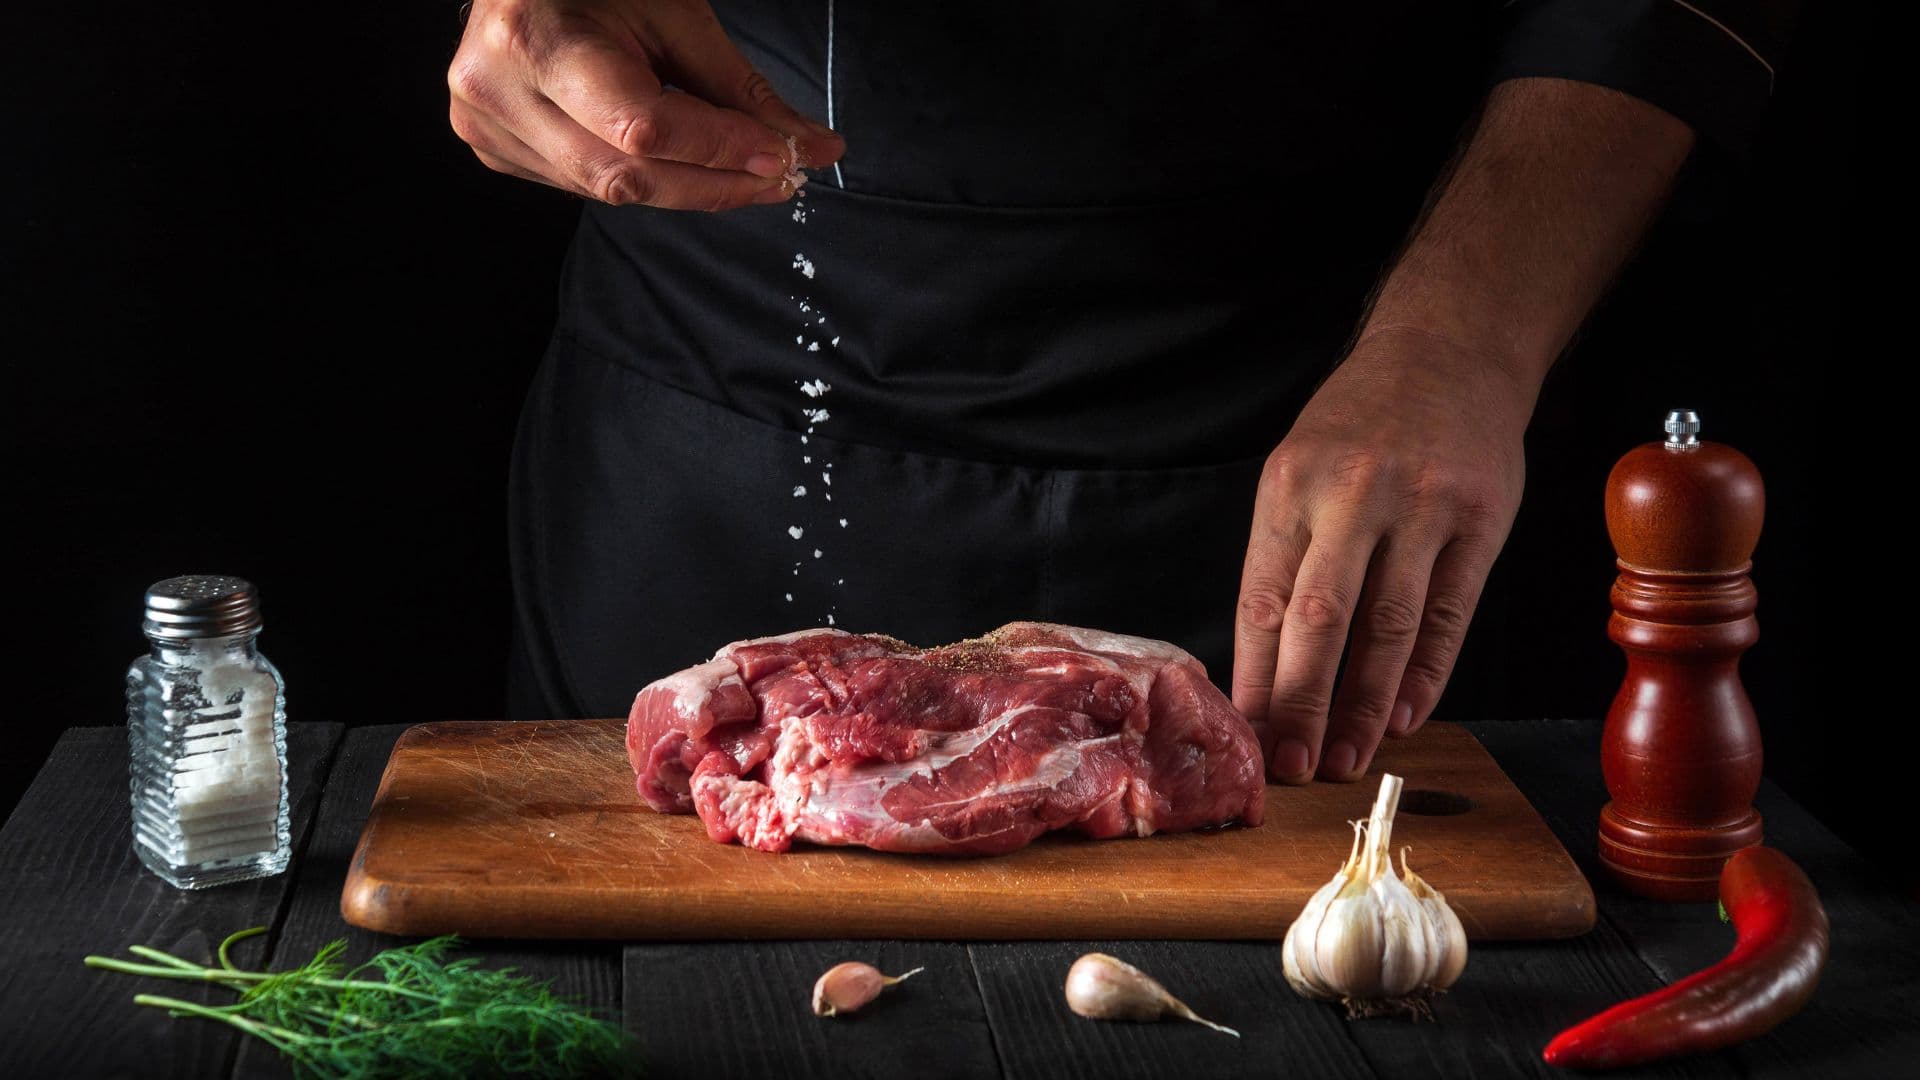
Salt should always be applied using proper timing principles you've learned - 40 minutes before cooking for optimal penetration and texture improvement. Additional seasonings can be applied at the same time or just before cooking, depending on whether they contain salt or sugar that might burn.

Different cuts pair naturally with different seasoning approaches. Rich cuts like ribeye can handle bold flavors, while delicate cuts like tenderloin benefit from subtler enhancement. The goal is to complement the meat's natural character rather than mask it.

Our Signature Recipe

This is our signature combination, perfected through testing. Ready to cook as-is, or customize it to your taste.

Servings:
1
For The Cut of Meat:

Ingredients

  • 1 pieceribeye steak
  • saltfor seasoning timingto taste
For The Seasoning:

Ingredients

  • coarse saltto taste
  • black pepperto taste

Equipment Needed

  • Searing skillet
  • Chef's knife
  • Cutting board
Part 1: The Cut of Meat - Ribeye
  1. Select Quality Ribeye Look for good marbling throughout the meat with white fat evenly distributed. The fat should look creamy white, not yellow. This marbling makes ribeye very forgiving - the fat melts during cooking and bastes the meat from the inside.

  2. Understand the Fat Ribeye's high fat content means it can handle higher heat and longer cooking without drying out. The marbling also means it will taste rich and satisfying even with simple seasoning. This is your most foolproof cut for learning proper technique.

  3. Prepare for Cooking Remove from refrigerator and bring to room temperature. The fat in ribeye solidifies when cold, so letting it warm up ensures even cooking and better fat rendering during the searing process.

Part 2: The Preparation & Cooking - Thick Cut Reverse Sear
  1. Low and Slow Foundation Preheat oven to 275°F. Place seasoned steak on wire rack over baking sheet or in oven-safe pan. Cook until internal temperature reaches 10-15°F below your target doneness. This gentle heating creates even cooking throughout without developing a crust yet.

  2. Rest and Prepare for Searing Remove steak from oven and let rest while you heat your skillet over high heat until a drop of water dances across the surface. The steak's surface will have dried during the oven time, which helps with browning.

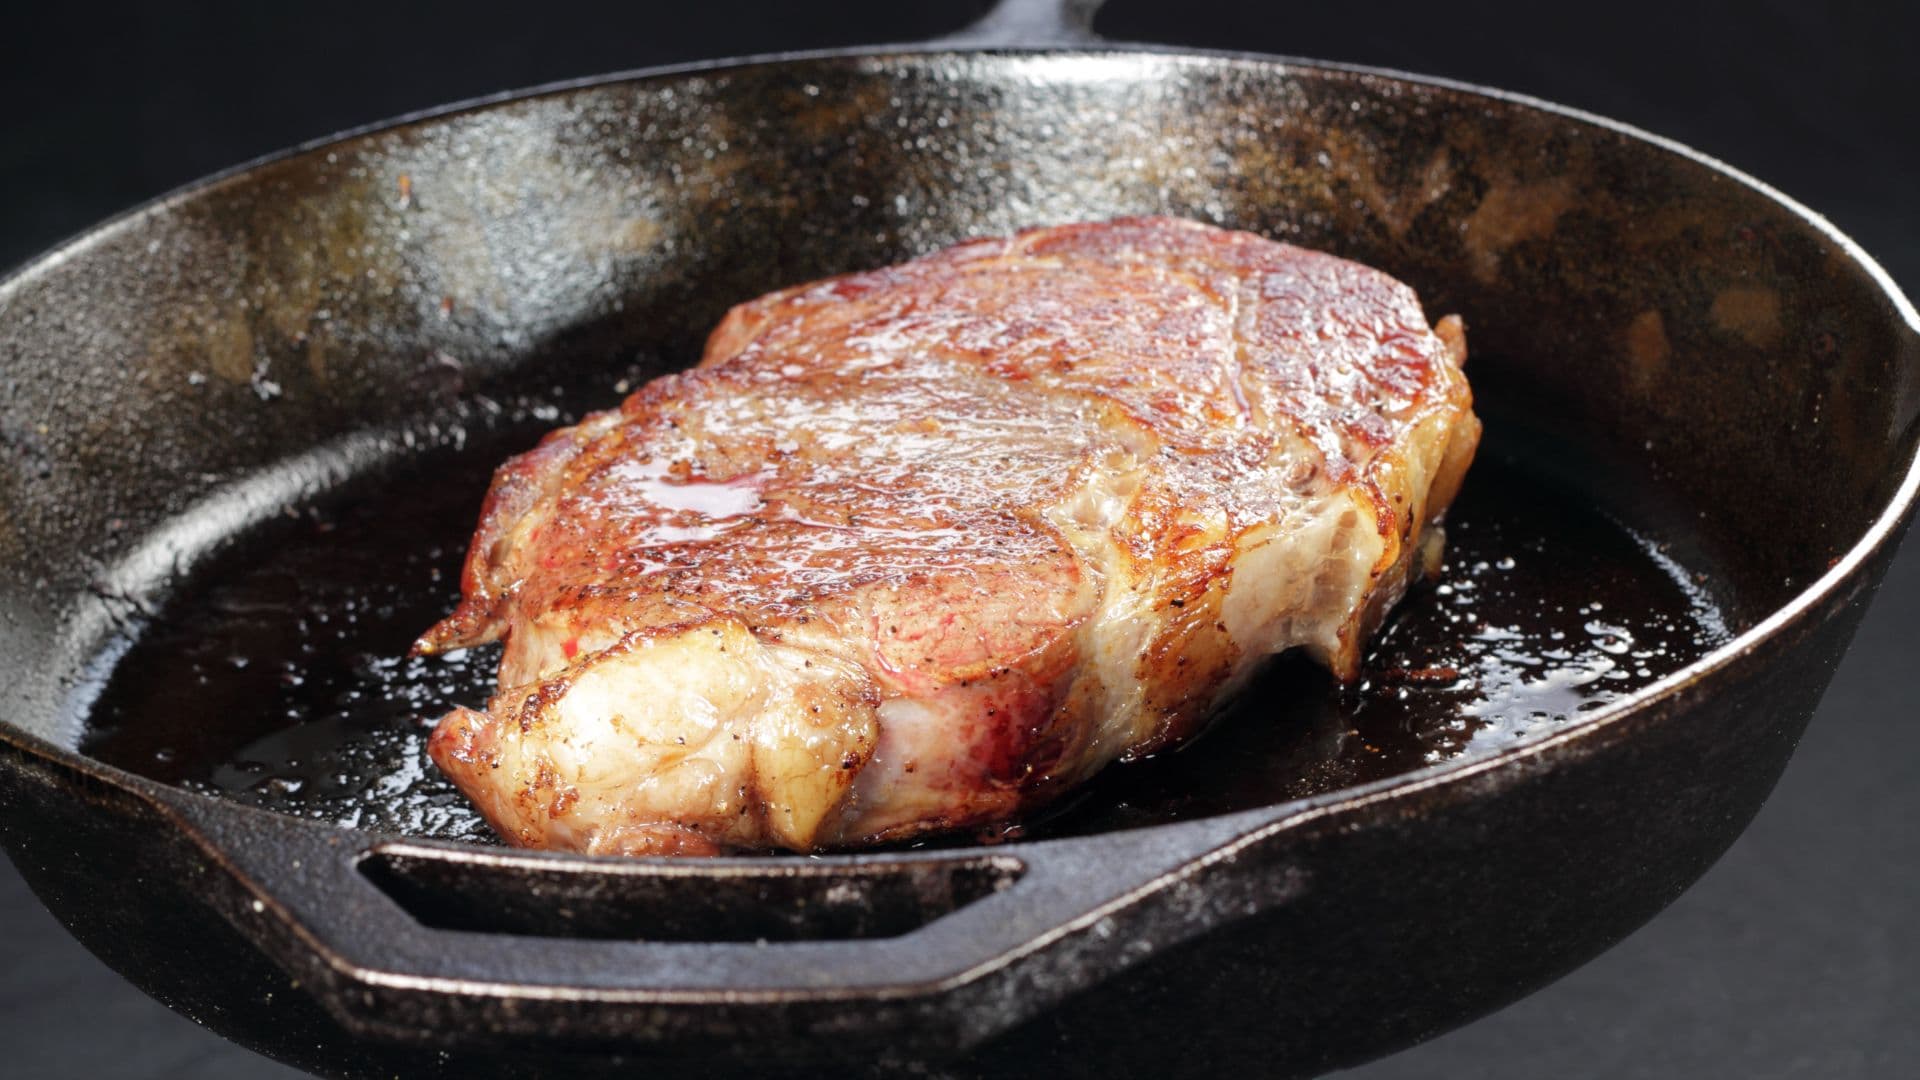
  3. High-Heat Finish Add small amount of oil to the hot pan and immediately place the steak in. Sear 1-2 minutes per side until deep brown crust forms. The interior is already at perfect temperature, so you're only developing surface flavor and texture.

Part 3: The Seasoning - Salt and Pepper
  1. Salt with Proper Timing Apply salt generously to all surfaces 40 minutes before cooking using your learned timing principles. Use about 1/2 teaspoon per side for average steaks, adjusting for size. This timing allows salt to penetrate and improve texture.

  2. Add Pepper Before Cooking Apply freshly cracked black pepper just before cooking to prevent burning. Use enough to create visible coverage but not so much that it dominates. The pepper's heat will complement the beef's richness without overwhelming it.

  3. Let the Meat Shine This simple approach showcases the natural flavor of well-cooked beef. The salt enhances and intensifies the meat's taste while pepper adds gentle heat and aromatic complexity. Perfect for learning to appreciate different cuts' characteristics.

Share This Recipe

Stay Updated with KotiChef

Subscribe to our newsletter to be the first to know about new features, lessons, recipes and tools. We'll keep you informed about everything we're cooking up.

Join our community to stay informed about new features and content. No spam, unsubscribe anytime.