Broiling Like a Chef: Distance, Timing, and the Signals You're Missing
Master broiling's intense radiant heat to create perfect caramelization and texture. Learn distance, timing, and positioning for consistent results.
What You'll Learn
- How to position food for even browning without burning
- How to control broiling intensity through distance and timing
- How to recognize the perfect moment to stop broiling
- How to prevent common broiling disasters before they happen
Lesson Contents
Read through each section and complete the interactive elements as you go.
The Power Above: Understanding Broiling's Unique Heat
Broiling harnesses radiant heat from above to create intense, concentrated cooking that's fundamentally different from other methods. Unlike sautéing where heat comes from below through conduction, or baking where heat surrounds food, broiling delivers direct, powerful heat that creates rapid surface changes while leaving interiors relatively untouched.
This makes broiling perfect for specific goals: creating crusty tops on casseroles, achieving restaurant-quality char on vegetables, or putting the perfect finish on steaks. But this intensity also makes broiling unforgiving - the difference between perfect caramelization and burnt food can be mere seconds.
Understanding how to control this heat intensity, position food correctly, and recognize the visual and aromatic cues of perfect browning transforms broiling from a guessing game into a reliable technique for creating exactly the textures and flavors you want.
The key insight: broiling isn't about following timers - it's about understanding heat dynamics and using your senses to guide the process.
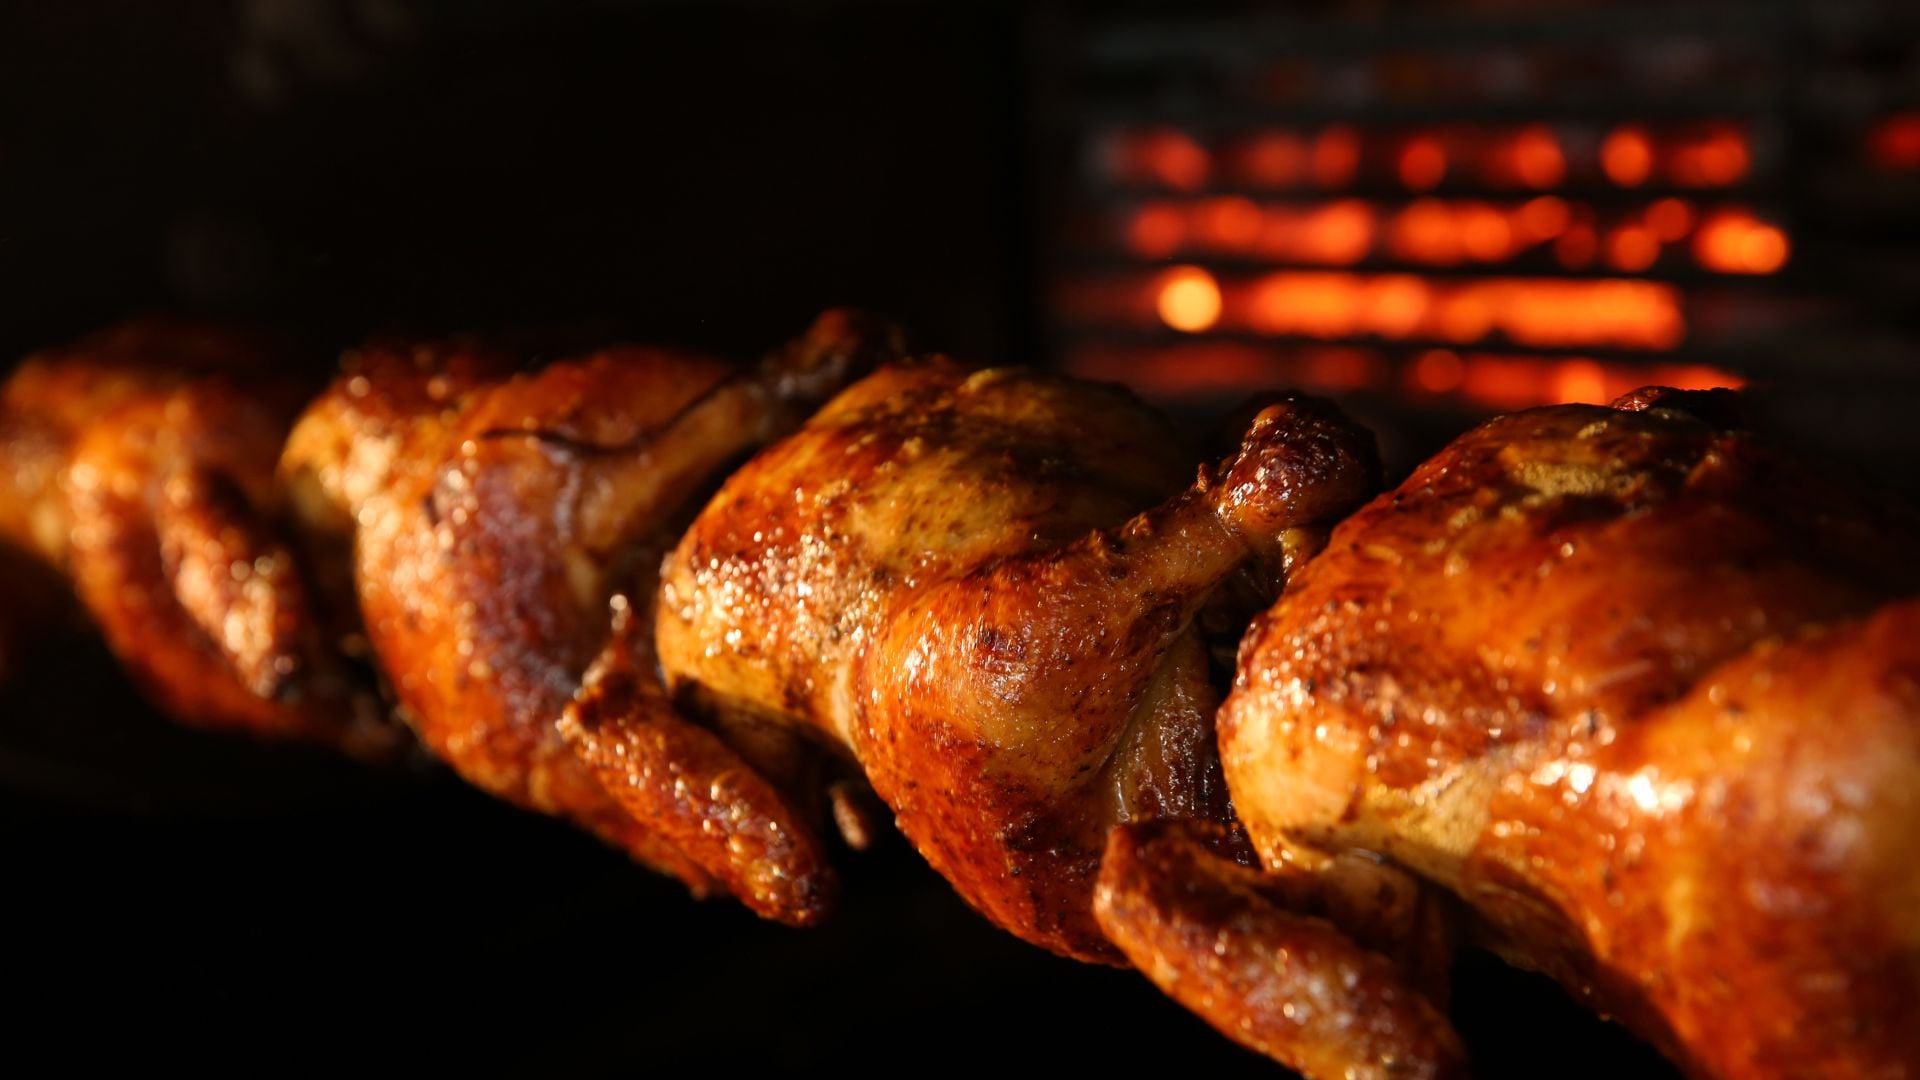
Understanding Your Heat Source
Every broiler creates a different heat pattern, and the distance between your food and the heat source determines cooking intensity more than any other factor. Professional kitchens use salamanders with adjustable racks for precise control, but home cooks can achieve similar results by understanding their specific setup.
The inverse square law governs broiling: doubling the distance from the heat source reduces intensity by 75%. This means moving food from 3 inches to 6 inches away doesn't just reduce heat slightly - it dramatically changes the cooking dynamic from aggressive surface browning to gentler warming.
Most home ovens position broiler elements 3-6 inches from the top rack position. Foods that need quick surface browning (like melting cheese on onion soup) work best 3-4 inches away. Foods that need deeper heat penetration (like thick fish fillets) perform better 5-6 inches away, allowing the interior to cook while the surface browns.
The visual cue that tells you everything: watch how quickly the surface begins to change color. Rapid color change means you're close enough for aggressive browning. Slow color change means you have more control time but need longer exposure.
Reading the Signals Your Food Sends
Successful broiling requires abandoning rigid timing in favor of visual and aromatic feedback. The surface of food under the broiler tells a story: first, moisture evaporates and the surface dries. Then, proteins and sugars begin browning through the Maillard reaction. Finally, true caramelization creates deeper colors and more complex flavors.
The progression follows predictable patterns. Light golden color appears first, usually accompanied by the first aromatic changes - a toasty, warming smell. Medium golden brown brings more intense aromas and visible texture changes. Dark golden brown creates the deep, complex flavors most broiling aims to achieve. Beyond this point, burning occurs rapidly.
Listening provides additional cues. Gentle sizzling indicates moisture evaporation. Intensifying sizzling suggests browning is accelerating. Silence often means moisture has fully evaporated and browning is occurring rapidly - time to watch closely.
The critical skill: learning to recognize the moment when browning accelerates. This typically happens when surface moisture evaporates completely, and it's your signal to begin watching continuously rather than checking periodically.
Setting Up for Success
The shape, thickness, and moisture content of food determines optimal broiling strategy. Thin, uniform pieces brown evenly and quickly. Thick, uneven pieces create hot spots and require careful positioning or pre-cooking. High-moisture foods need time for surface drying before browning begins.
Positioning food correctly across the pan matters enormously. Broiler elements create uneven heat patterns - typically hotter in the center and cooler toward edges. Arrange food based on desired browning intensity: items needing aggressive browning go in the center, while delicate items benefit from edge positioning.
Surface preparation affects results dramatically. Pat-dry surfaces brown faster and more evenly than wet surfaces. Lightly oiled surfaces brown beautifully and resist sticking. Heavily sauced surfaces may prevent browning entirely, requiring sauce application after browning.
Creating even thickness through butterflying, pounding, or scoring allows uniform browning. When thickness variation is unavoidable, position thicker areas toward the center where heat is most intense, and thinner areas toward cooler edges.
When Things Go Wrong and How to Fix Them
Broiling problems usually stem from distance, timing, or preparation issues, and most can be corrected mid-process. Uneven browning indicates either uneven food thickness or uneven heat distribution. Moving food to different pan positions often solves heat distribution problems. Adjusting rack height addresses intensity issues.
When browning happens too quickly, immediate solutions include moving the pan to a lower rack position, rotating the pan to utilize cooler areas, or briefly removing food to interrupt the process. When browning happens too slowly, closer positioning or longer exposure times usually work, but beware of overcooking interiors.
Burnt spots don't necessarily ruin food. Light charring can be scraped away, and moderate charring often adds desirable bitter notes that balance rich foods. Severe burning requires starting over, but this rarely happens when following visual cues rather than rigid timing.
The recovery principle: broiling intensity can always be reduced (by moving food away from heat), but it cannot be increased beyond your equipment's maximum. Start closer and move away if needed, rather than starting far and trying to intensify later.
Your New Broiling Confidence
Mastering broiling transforms your ability to add professional-quality finishing touches to home-cooked food. The key insight is that broiling success comes from understanding heat dynamics and using your senses to guide the process, not from following rigid timing rules.
Your three essential skills are now in place: positioning food at the right distance for your desired intensity, reading visual and aromatic cues to time the process perfectly, and making real-time adjustments when needed. These skills work together to give you complete control over one of cooking's most powerful techniques.
The next time you want to create a golden-brown crust on a casserole, achieve restaurant-quality char on vegetables, or add a perfect finish to grilled meats, you'll approach the broiler with confidence and precision. You understand the principles, recognize the signals, and know how to adjust when things don't go according to plan.
This understanding extends beyond broiling itself - you've developed the observational skills and heat awareness that make you a better cook across all techniques. Watch for these same visual and aromatic cues in other high-heat cooking methods, and apply the same principle-based approach to master them too.