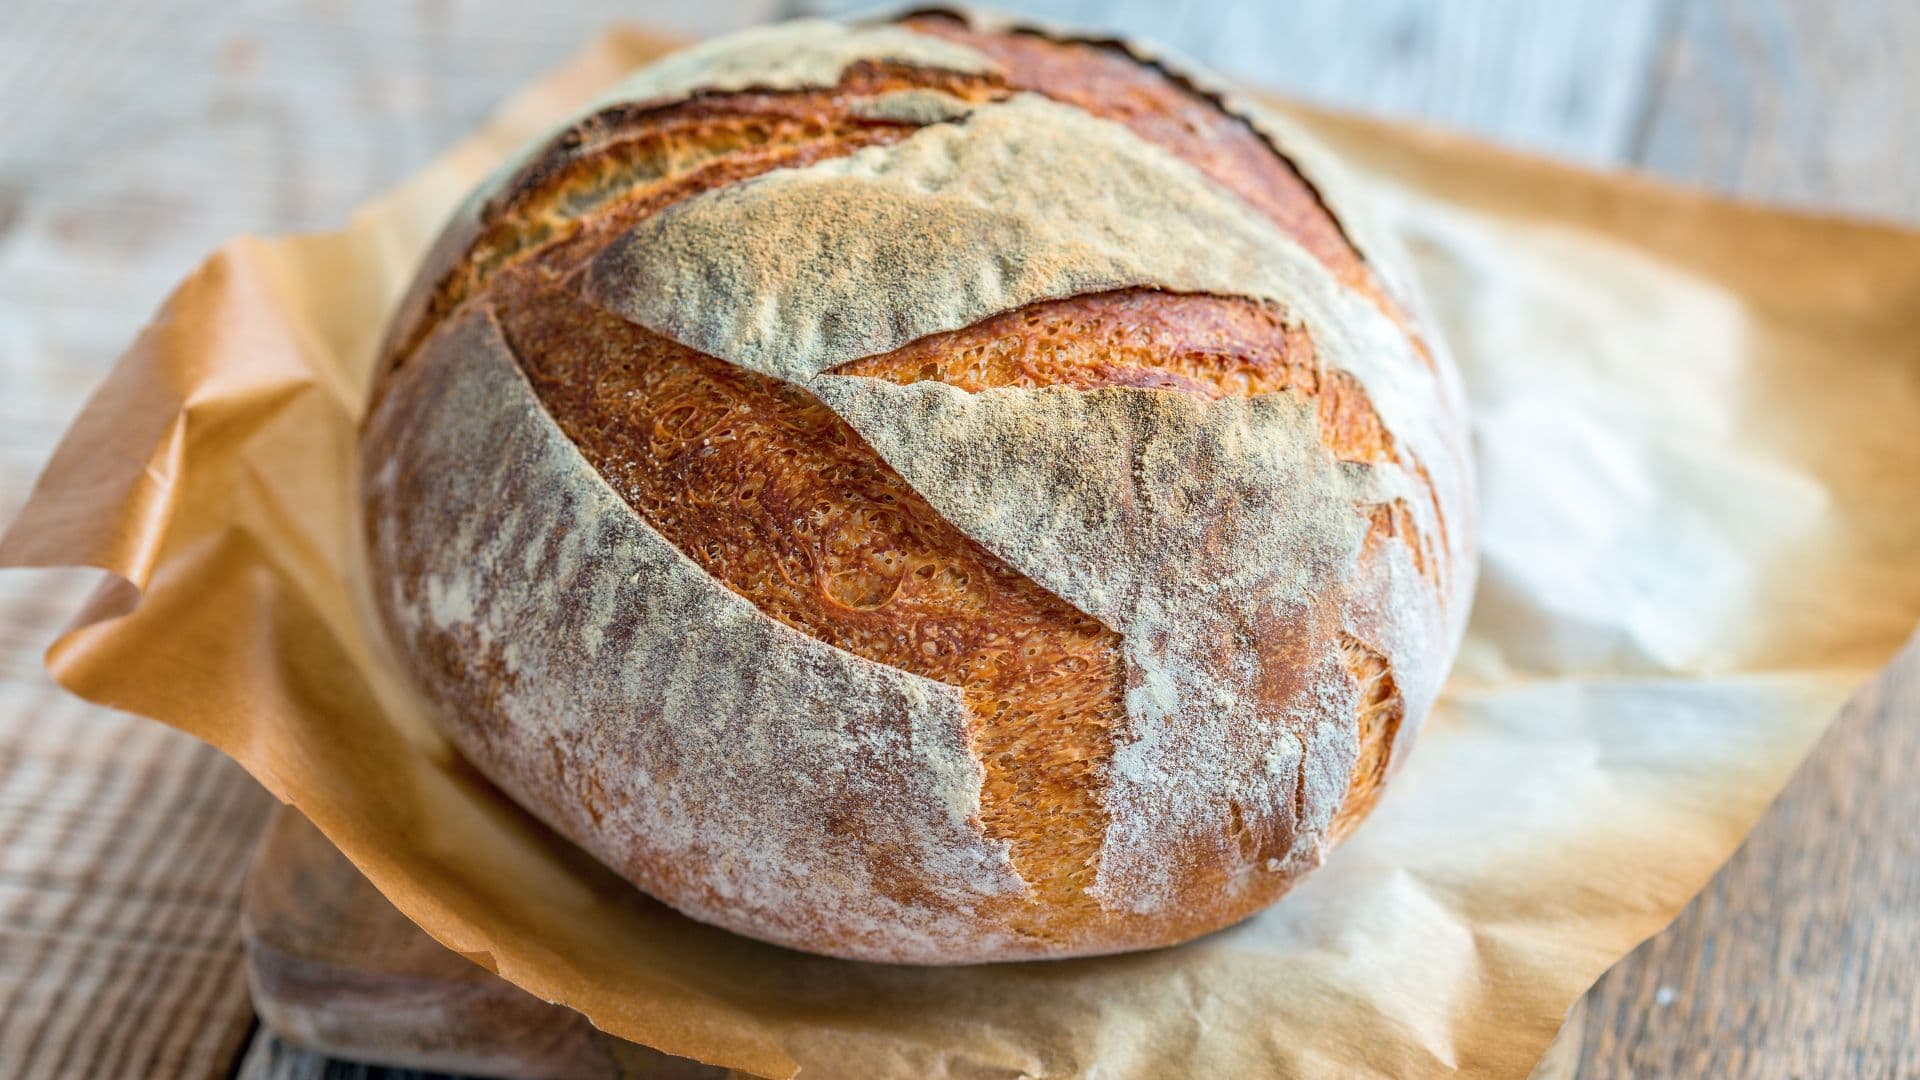
Rustic White Boule

Rustic White Boule

Rustic White Boule

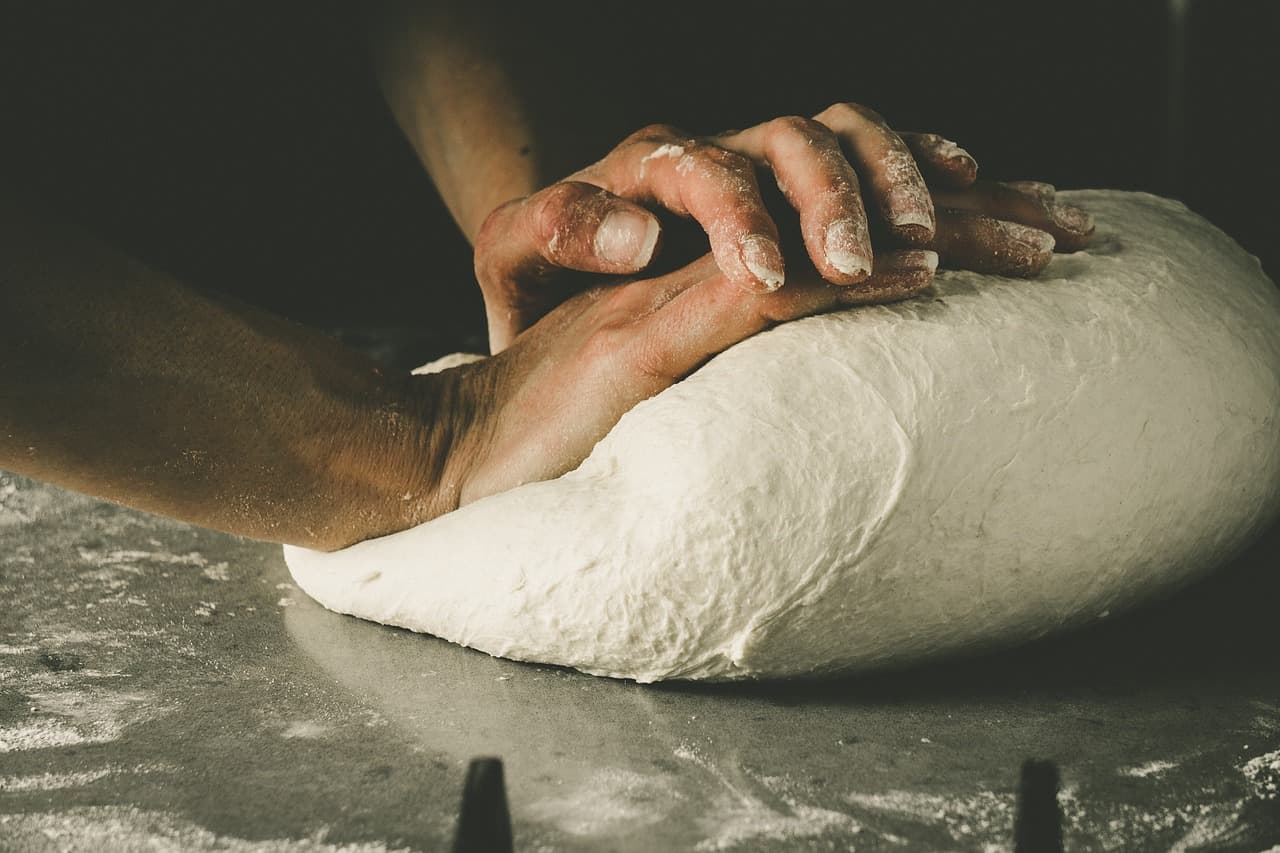
Create a round, crusty white bread with an open crumb and artisan appeal. Master foundational techniques including proper mixing, fermentation, simple shaping, and baking that form the basis for all bread making.

Unlike sandwich breads that prioritize uniformity, the boule celebrates irregularity. Its open, airy crumb and thick, crackling crust come from understanding how hydration, fermentation, and heat interact. By mastering these three fundamental components, you'll be able to adapt your bread to different flours, schedules, and preferences.

The beauty of boule-making lies in its flexibility. Whether you have two hours or two days, whether you prefer wild yeast or commercial, whether you want a gentle hand or more structured approach—all paths can lead to exceptional bread when you understand the principles at work.
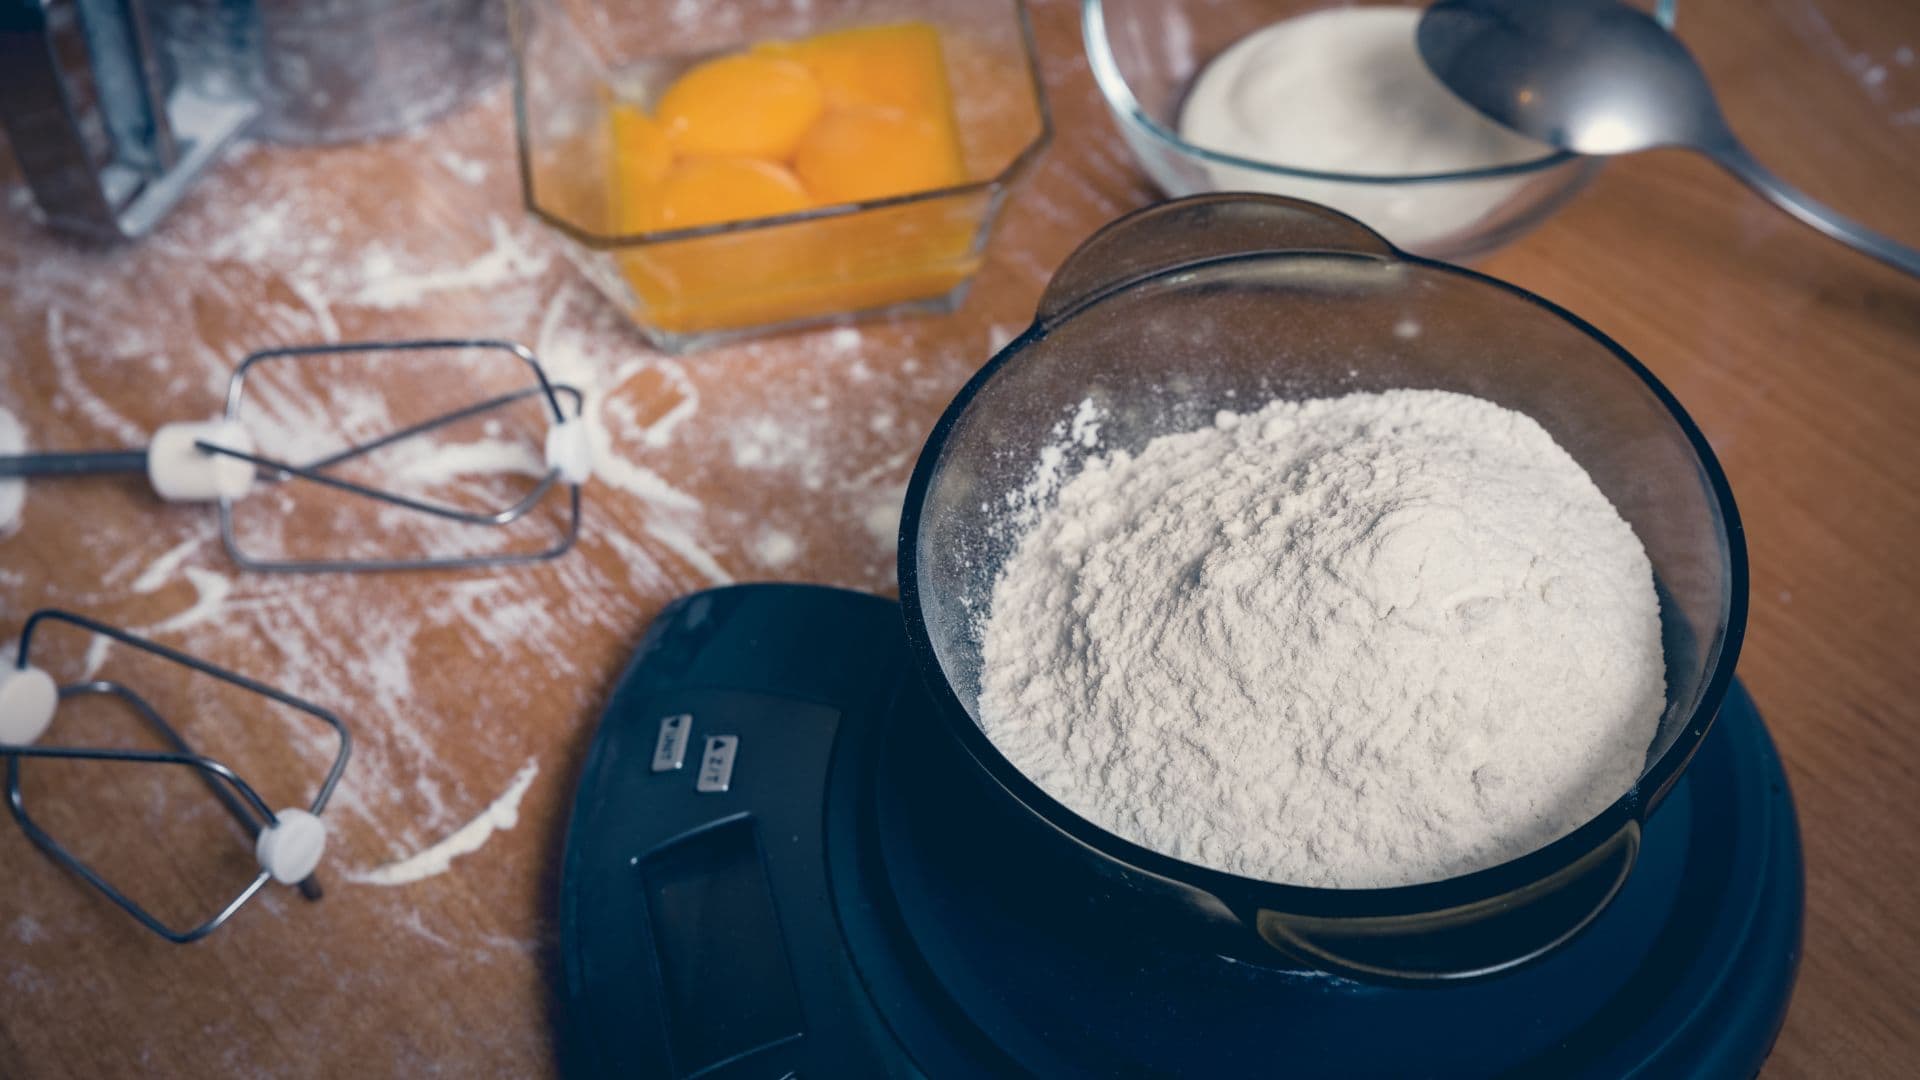
Equipment Needed

  • Kitchen scale
Recipe Contents

Part 1: Foundation & Fermentation

Think of dough as a living process where timing matters as much as ingredients. When you first mix flour and water, gluten strands begin forming naturally before you even add yeast. This resting period makes your dough easier to work with and gives the yeast a head start. The amount of water you use affects both texture and handling—drier doughs are forgiving and perfect for learning, while wetter doughs create those gorgeous artisan holes but require more confidence.

Your choice of yeast shapes everything that follows. Commercial yeast is predictable and works with any hydration level, fermenting quickly for same-day bread. Sourdough starter is more temperamental but adds complexity and brings its own water to the mix. Salt acts as the conductor—add it after the flour-water rest but before fermentation begins. It strengthens gluten and controls timing, giving you much more control over the process.

Part 2: Structure Development

Gluten development can happen through mechanical action (kneading) or time and gentle folding. Traditional kneading aligns gluten strands quickly but can deflate gas bubbles formed during fermentation. Stretch-and-fold techniques work more slowly but preserve the irregular bubble structure that creates rustic, open crumb.

The key is building sufficient strength without overworking. Well-developed dough should hold its shape when formed, stretch without immediate tearing, and feel smooth yet supple. Under-developed dough spreads instead of rising; over-developed becomes tight and resistant.

Different techniques suit different hydration levels and schedules. High-hydration doughs benefit from gentle folding that preserves bubbles. Standard hydration can handle more aggressive handling. The choice affects not just texture but also baking performance—proper structure creates better oven spring and final shape.

Part 3: Final Expression

Proper shaping creates surface tension that helps the dough maintain its form and achieve good oven spring. Too tight and the dough fights expansion; too loose and it spreads sideways instead of rising. The seam should be on the bottom to prevent splits during baking.

Final proofing develops flavor while preparing for baking. Under-proofed bread will have explosive oven spring but dense crumb; over-proofed will collapse or have poor rise. The poke test is your guide: gently poke the shaped dough—if it springs back quickly, it needs more time; if it doesn't spring back at all, it's overproofed; if it springs back slowly, it's ready.

Scoring isn't just decorative—it controls where steam escapes and directs oven spring. Score just before baking when dough is properly proofed. Steam during the first 15-20 minutes creates the glossy, crackling crust characteristic of artisan bread.

Our Signature Recipe

This is our signature combination, perfected through testing. Ready to cook as-is, or customize it to your taste.

Servings:
1
For Foundation & Fermentation:

Ingredients

  • 300 gwheat flour100% ratio
  • 210 gwater70% ratio
  • 6 gsalt2% ratio
  • 2 gactive dry yeast0.7% ratio

Equipment Needed

  • Kitchen scale
  • Heavy duty pot
Part 1: Foundation & Fermentation - Commercial Yeast
  1. Autolyse: Mix flour and water until no dry patches remain. Cover and rest 30 minutes. This allows gluten to develop naturally and flour to fully hydrate, making mixing easier.

  2. Add leavening and salt: Sprinkle instant yeast and salt over the dough. Mix thoroughly by hand, kneading in the bowl until ingredients are fully incorporated and dough feels unified, about 5 minutes.

  3. Initial fermentation setup: The dough should feel smooth and slightly elastic. Place in lightly oiled bowl, cover with damp towel. Ready for bulk fermentation that will take 1.5-2 hours at room temperature.

Part 2: Structure Development - Simple Folding
  1. Basic fold technique: During bulk fermentation, perform sets of folds every 45-60 minutes. Grab one side of dough, stretch up gently, fold over to opposite side. Rotate bowl 90° and repeat until you complete the circle (4 folds per set).

  2. Progressive strengthening: Perform 2-3 fold sets during the first half of bulk fermentation. Each set builds gluten strength while preserving gas bubbles. The dough becomes noticeably stronger and more cohesive with each set.

  3. Development completion: After final folds, the dough should hold together when lifted and show visible bubbles throughout. It should feel springy and alive, ready for final fermentation without further handling.

Part 3: Final Expression - Dutch Oven
  1. Shape and proof: Turn dough onto lightly floured surface. Shape into round by gathering edges underneath to create smooth, taut top surface. Place seam-down in bowl lined with floured towel. Final proof 1-2 hours until poke test shows readiness.

  2. Preheat and score: Place Dutch oven with lid in oven, preheat to 450°F / 230°C for 30 minutes. Turn proofed boule onto parchment. Score with one confident slash about 1/2 inch deep across diameter.

  3. Steam baking: Lower parchment and bread into hot pot. Cover immediately and bake 20 minutes. Remove lid, continue baking 15-20 minutes until golden brown. Internal temperature should reach 200-205°F / 95°C.

Share This Recipe

Stay Updated with KotiChef

Subscribe to our newsletter to be the first to know about new features, lessons, recipes and tools. We'll keep you informed about everything we're cooking up.

Join our community to stay informed about new features and content. No spam, unsubscribe anytime.