Focaccia

Focaccia

Focaccia

Master high-hydration dough with this olive oil-enriched Italian bread. Learn handling techniques for wet doughs while creating a versatile bread perfect for sandwiches or accompaniments.

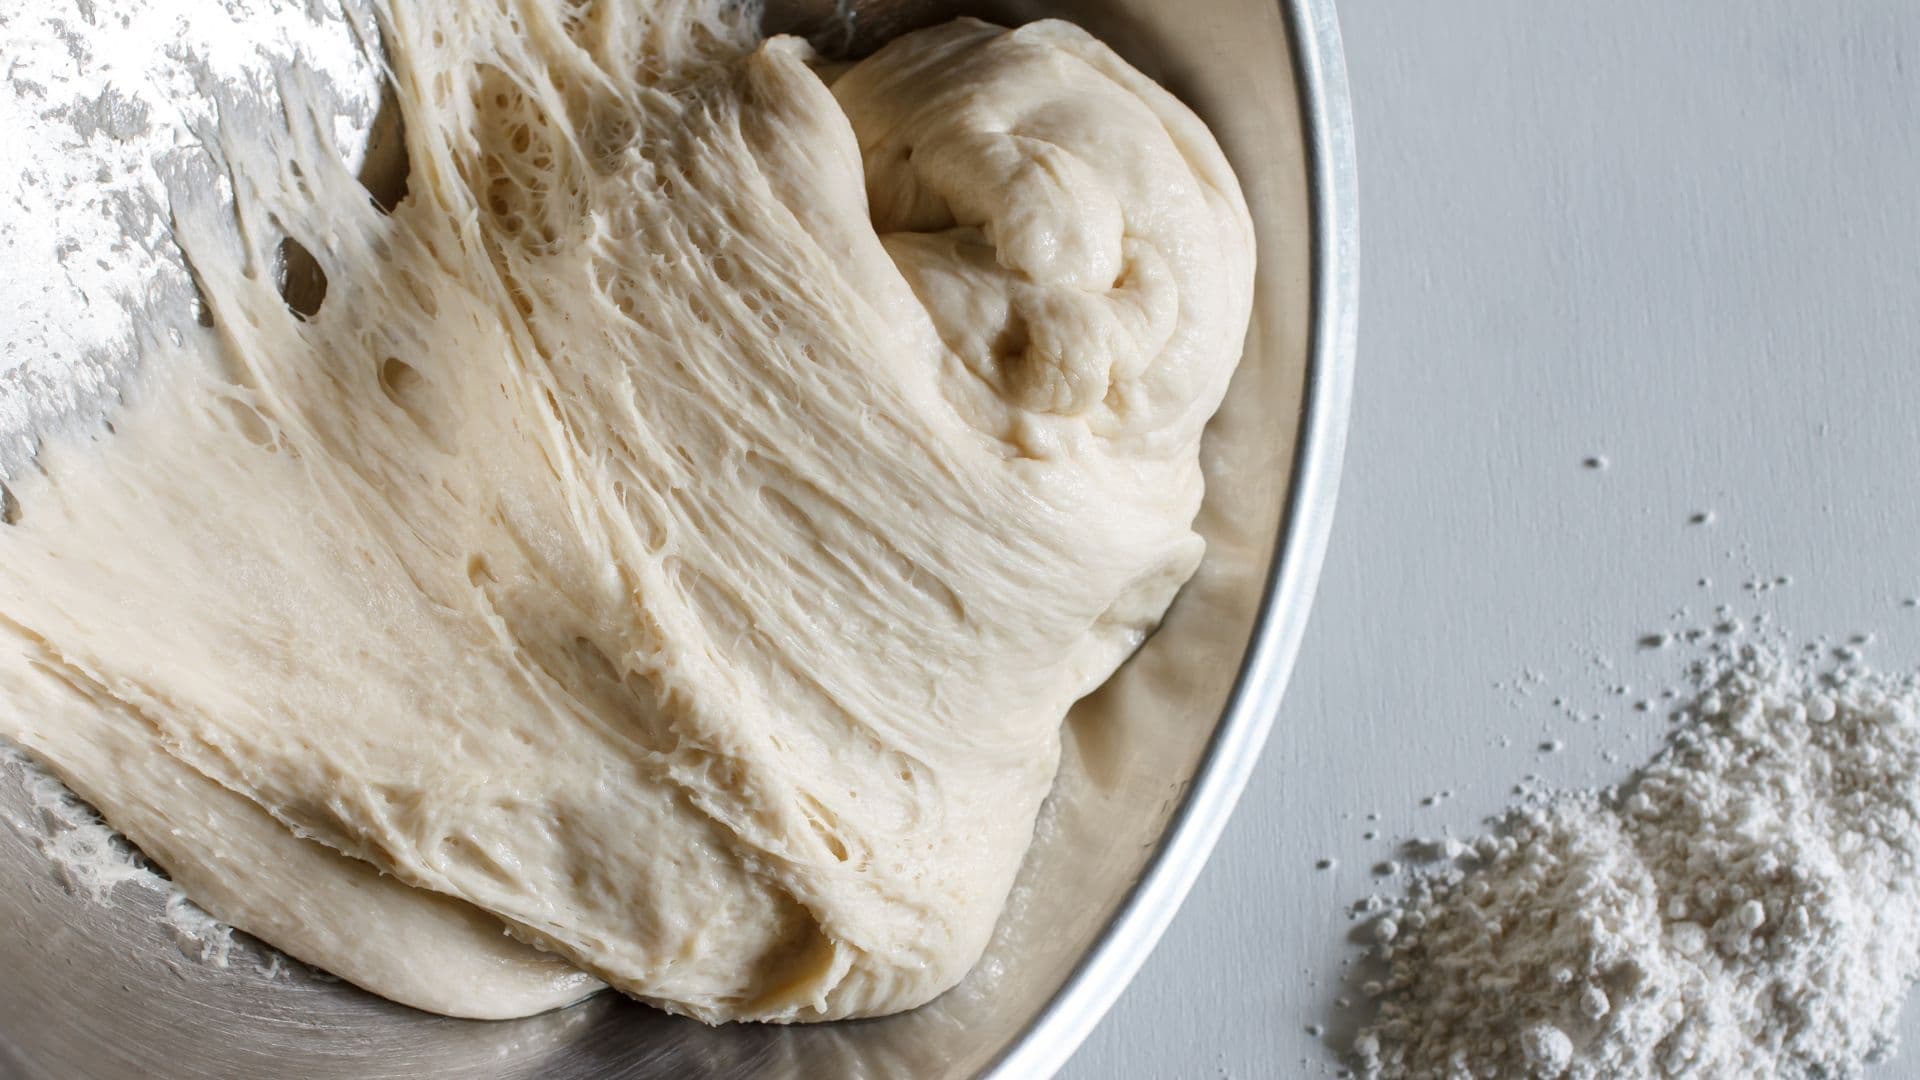
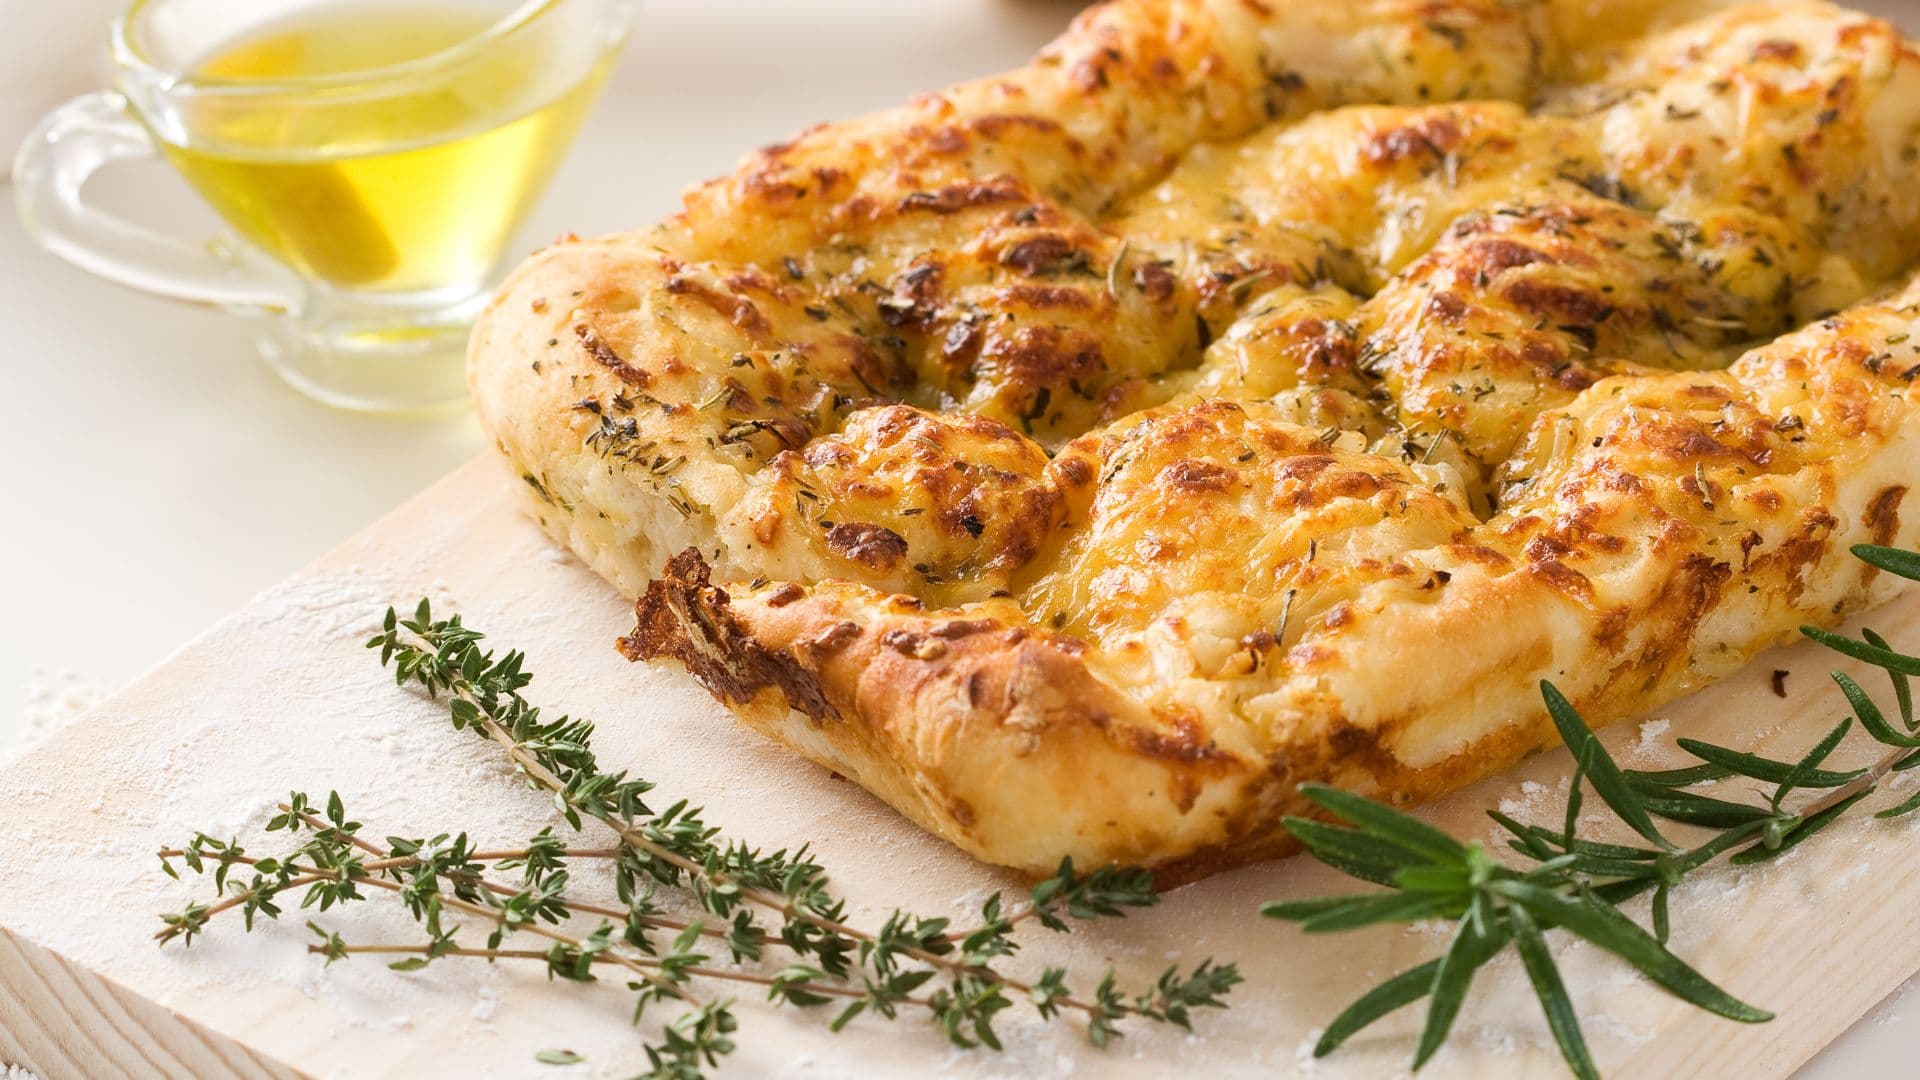
The secret to great focaccia lies in understanding three key elements: creating a very wet, extensible dough that yields an open, airy crumb; mastering the dimpling technique that creates those characteristic wells for oil and flavor; and knowing how different toppings behave in the oven's heat.

Unlike some breads that hide other ingredients besides the dough within, focaccia celebrates them on its surface, creating a harmony between bread and topping that's both rustic and refined.

Equipment Needed

  • Kitchen scale
  • Metal oven dish
Recipe Contents

Part 1: The Dough Foundation

Focaccia dough is intentionally wetter than most bread doughs—this high hydration creates the large, irregular air pockets that give focaccia its characteristic lightness. The extra water also makes the dough more extensible, allowing it to stretch easily during shaping without tearing.

Unlike kneaded breads, focaccia dough develops its structure through time and gentle folding rather than aggressive mixing. This preserves the delicate bubble structure while building enough gluten strength to support the bread's flat shape and hold toppings without becoming dense.

Part 2: The Dimpling Technique

Dimpling serves multiple purposes: it prevents large air bubbles from forming, creates reservoirs for olive oil and toppings, and gives focaccia its distinctive appearance. The key is being assertive enough to create deep wells without being so aggressive that you deflate the entire dough structure.

Timing matters—dimple too early and the dough will spring back, filling in your wells. Dimple too late and you risk deflating dough that's perfectly proofed. The ideal time is when the dough has relaxed enough to hold dimples but still has enough strength to support toppings.

Part 3: The Toppings & Finish

Focaccia toppings aren't just decorative—they become part of the bread itself through the baking process. Understanding when to add different ingredients, how much moisture they'll release, and how they'll behave in high heat is crucial for balanced results.

Olive oil is never optional—it creates the crispy bottom crust, keeps the top moist, and carries flavors throughout the bread. Be generous but purposeful. Salt should be coarse enough to provide textural contrast and should be added just before baking to prevent drawing moisture from other toppings.

Our Signature Recipe

This is our signature combination, perfected through testing. Ready to cook as-is, or customize it to your taste.

Servings:
1
For The Dough Foundation:

Ingredients

  • 200 gwheat flour100% ratio
  • 160 gwater80% ratio
  • 4 gsalt2% ratio
  • 1.5 gactive dry yeast0.75% ratio
For The Toppings & Finish:

Ingredients

  • saltto taste
  • olive oilto taste

Equipment Needed

  • Kitchen scale
  • Metal oven dish
Part 1: The Dough Foundation - Classic High-Hydration
  1. Initial mixing: In large bowl, whisk flour and yeast together. Add water and mix with wooden spoon until shaggy dough forms—it will seem very wet. Cover and rest 30 minutes for flour to hydrate fully.

  2. Salt integration: Sprinkle salt over dough surface. Using wet hands, fold dough over itself repeatedly, squeezing gently until salt is fully incorporated and dough feels more cohesive, about 5 minutes.

  3. Bulk fermentation: Cover bowl and let rise at room temperature 2-3 hours, performing gentle folds every 45 minutes for the first 1.5 hours. Dough should nearly double and feel jiggly when bowl is gently shaken.

Part 2: The Dimpling Technique - Basic Pan Dimpling
  1. Pan preparation: Oil your baking pan generously—don't be shy with the oil. Gently transfer the risen dough to the pan, trying to maintain its bubbly structure. Let rest 15-20 minutes for dough to relax.

  2. Initial dimpling: Using all your fingertips, press firmly into the dough to create deep wells across the entire surface. Press almost to the bottom of the pan but don't puncture through. The oils from the pan will pool in these wells.

  3. Final proof and prep: Let rest 30-45 minutes until dough fills the pan and dimples remain visible. The dough should feel alive and slightly wobbly when gently shaken, ready for toppings and baking.

Part 3: The Toppings & Finish - Classic Olive Oil & Salt
  1. Oil application: Drizzle olive oil generously over entire surface, ensuring it pools in all the dimples. Use your hands to spread gently, making sure every inch is covered. This oil creates the signature crispy-bottom, tender-top texture.

  2. Salt finishing: Sprinkle coarse salt evenly across surface. Use more than you think you need—some will be absorbed during baking. The salt provides essential contrast to the rich oil and bread.

  3. Baking perfection: Bake at 425°F / 220°C for 20-25 minutes until golden brown and crispy on bottom. The finished focaccia should sound hollow when tapped and have a deeply golden, oil-glistened surface.

Share This Recipe

Stay Updated with KotiChef

Subscribe to our newsletter to be the first to know about new features, lessons, recipes and tools. We'll keep you informed about everything we're cooking up.

Join our community to stay informed about new features and content. No spam, unsubscribe anytime.