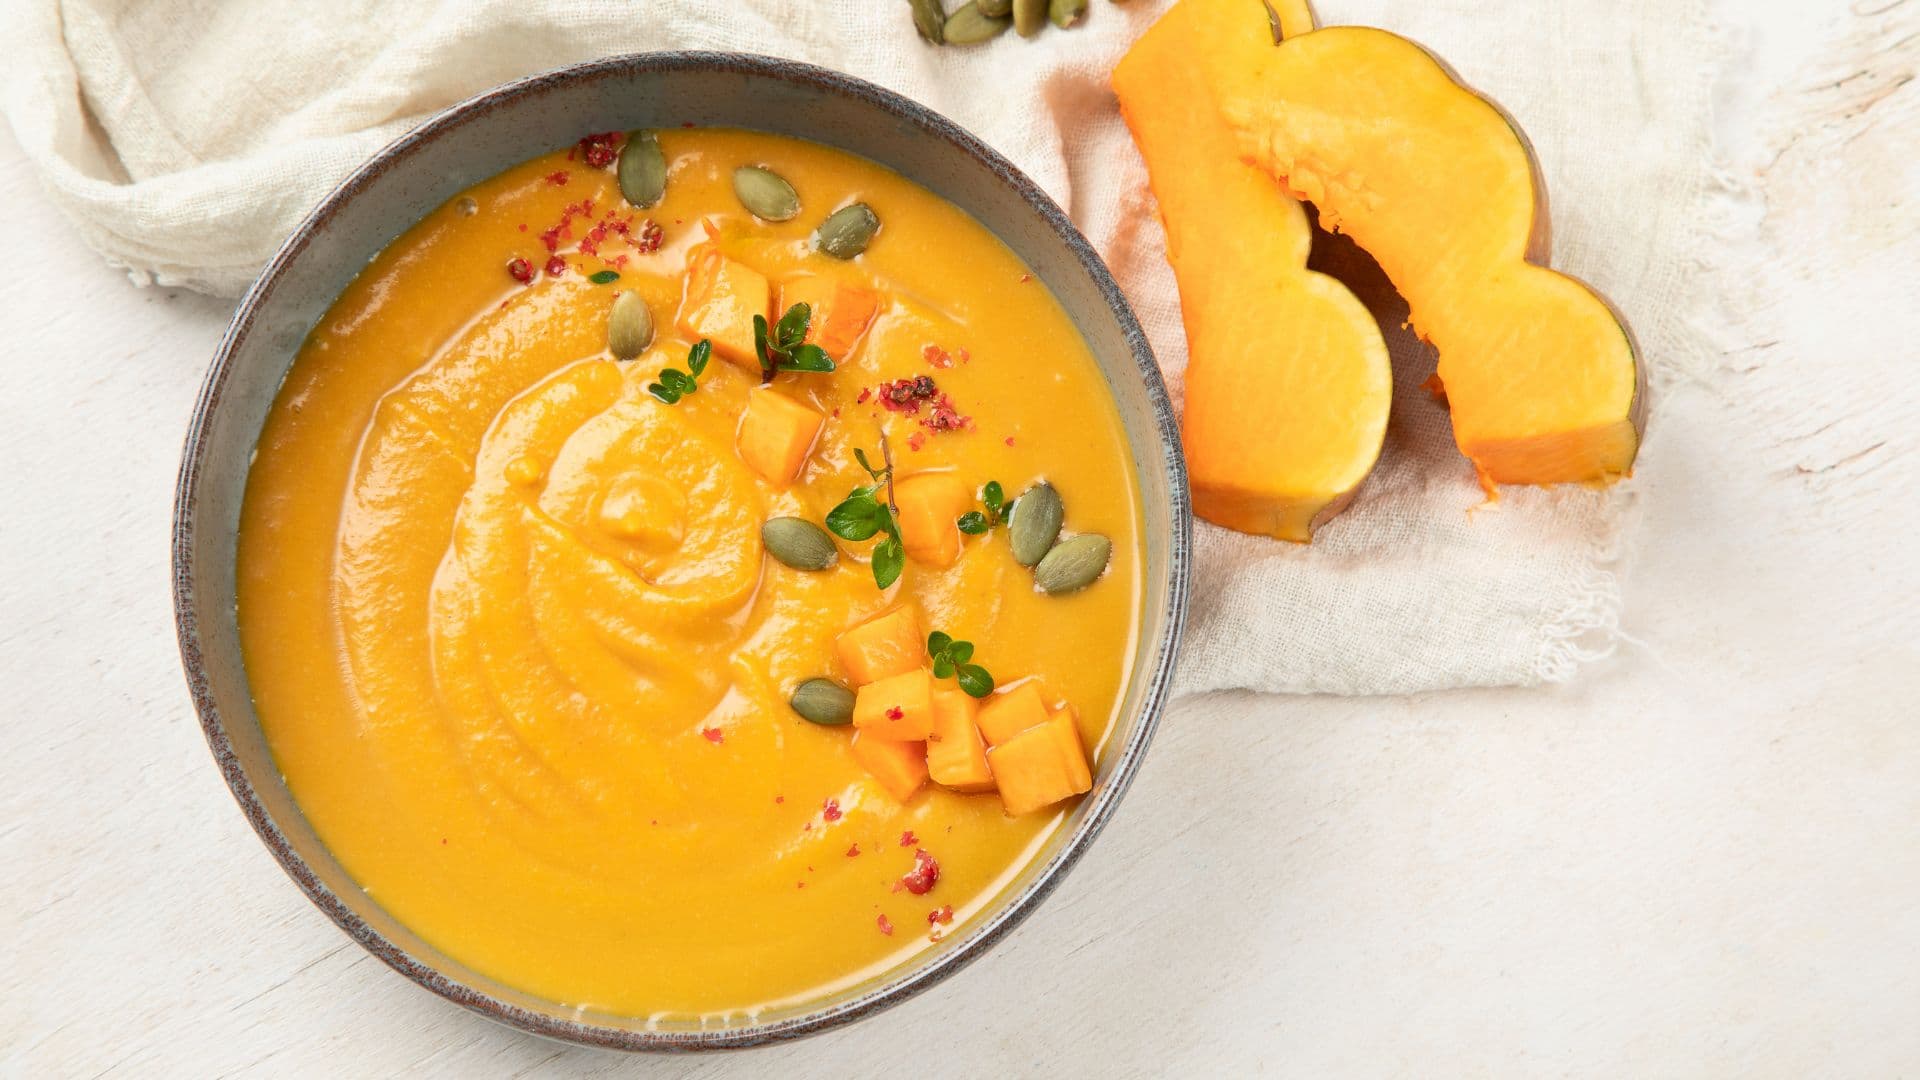
Vegetable Puree Soup
A versatile approach to creating silky vegetable puree soups with mix-and-match components. Learn to combine different vegetables, aromatics, broths, and garnishes for endless delicious variations.
Pureed vegetable soups have a storied place in culinary history, appearing in various forms across cultures for centuries. From the velvety potages of classical French cuisine to the vibrant, spice-infused pureed soups of India and Southeast Asia, this preparation method has endured because it transforms humble vegetables into elegant dishes with remarkable depth of flavor and silky texture. What makes pureed soups special is their ability to showcase the essence of vegetables in their purest form while being infinitely adaptable to seasonal ingredients and personal taste.
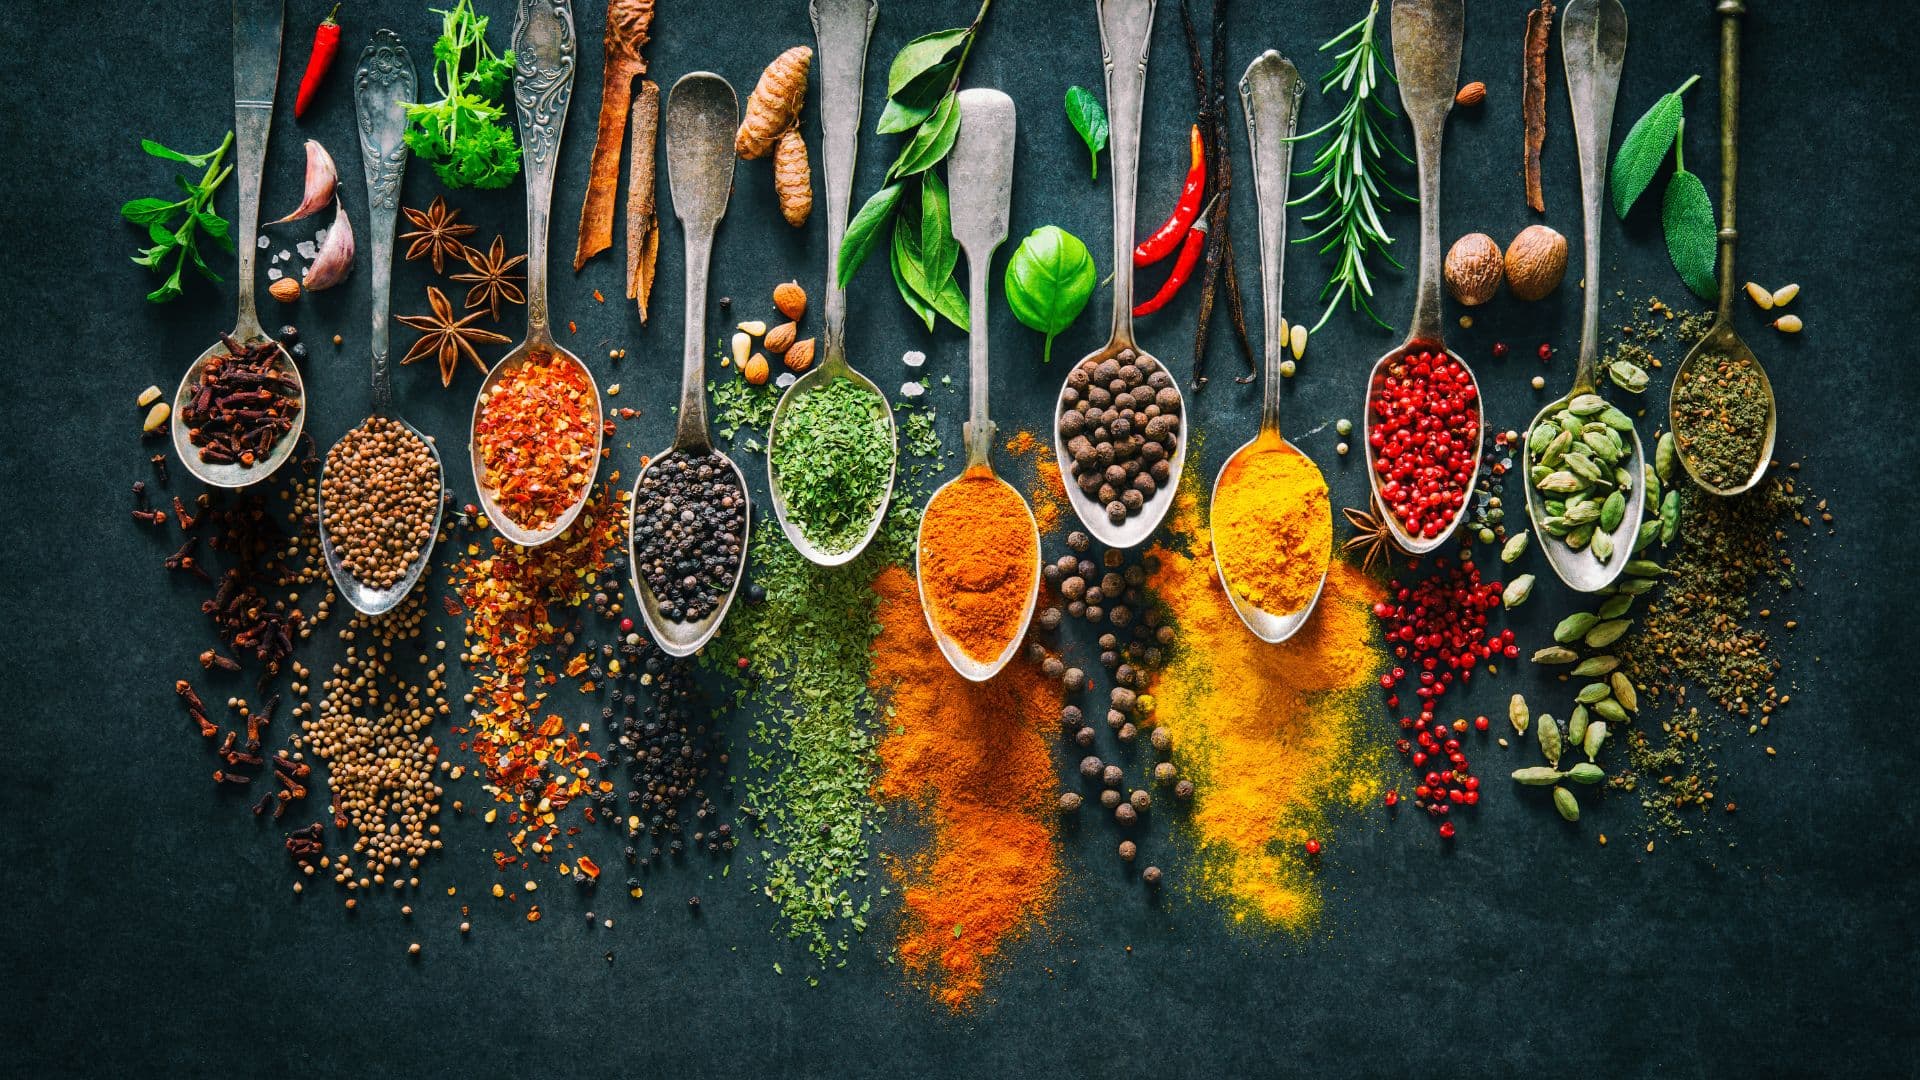
The fundamental technique for creating exceptional vegetable puree soups lies in understanding how each component contributes to the final dish. The vegetable base provides body and the primary flavor profile, while the aromatics build complexity and depth. The liquid component determines not just consistency but also adds another layer of flavor, and the finishing elements transform a simple soup into something memorable, adding contrasting textures and visual appeal. By mastering how these components interact, you'll develop an intuitive understanding that goes beyond following recipes.
Learning to create exceptional puree soups is worth the effort because it teaches core cooking principles that extend far beyond soup-making. You'll master flavor building, texture development, seasoning, and the art of layering flavors—skills that translate to countless other dishes. This approach also encourages creativity and resourcefulness, allowing you to use seasonal produce at its peak or transform vegetable odds and ends into something spectacular. Once you understand the formula, you'll never need a specific recipe again, freeing you to cook confidently with whatever ingredients you have on hand.
Equipment Needed
- Immersion blender