Bread Troubleshooting Guide
Identify and solve common bread baking problems with confidence. Learn to diagnose issues from dense crumb to poor rise, ensuring your next loaf will be better than the last.
What You'll Learn
- Develop systematic bread evaluation skills for accurate problem diagnosis
- Understand the science behind common bread failures and their solutions
- Build confidence to troubleshoot and improve future bread baking attempts
- Connect bread problems to fundamental baking principles
Lesson Contents
Read through each section and complete the interactive elements as you go.
Introduction
Every baker has been there. You pull a loaf from the oven, anticipating the reward for hours of careful work, only to discover something's gone wrong. Maybe the bread is dense as a brick, or perhaps it never rose properly, or the crust looks pale and sad. In that moment of disappointment, it's tempting to think bread baking is just too unpredictable, too mysterious to master.
But here's what experienced bakers know: every "failed" loaf is actually telling you a story. The dense crumb whispers about gluten development. The flat profile speaks of fermentation timing. The gummy texture reveals secrets about moisture and temperature. Learning to read these signs transforms you from someone who follows recipes hoping for the best into a baker who understands what's happening and why.
This isn't about memorizing a list of problems and solutions. Instead, we're building your diagnostic skills so you can approach any bread issue with confidence and curiosity rather than frustration. When you understand the fundamental principles behind bread behavior, troubleshooting becomes less about fixing mistakes and more about fine-tuning your craft.
Think of this lesson as bringing together everything you've learned about flour proteins, yeast activity, fermentation science, and heat transfer. Each principle you've studied becomes a tool in your troubleshooting kit, helping you decode what your bread is trying to tell you and ensuring your next loaf will be even better.
Reading Your Bread's Story
When a loaf doesn't turn out as expected, your first instinct might be to focus on what went wrong. But experienced bakers approach troubleshooting differently. They start by systematically gathering information, like detectives at a crime scene, because the solution often lies in understanding exactly what happened, not just what the end result looks like.
Your bread communicates through multiple channels. Visual appearance tells you about structure and fermentation. The feel of the crumb reveals information about hydration and gluten development. Even the sound when you tap the bottom crust provides clues about doneness and moisture content. Learning to interpret these signals accurately is the foundation of effective troubleshooting.
Start with the overall shape and volume. A loaf that didn't rise properly might seem like an obvious fermentation problem, but the reality is more nuanced. Poor rise could result from inactive yeast, insufficient gluten development, over-proofing, or even incorrect oven temperature. The key is to look beyond the obvious symptom to understand the underlying cause.
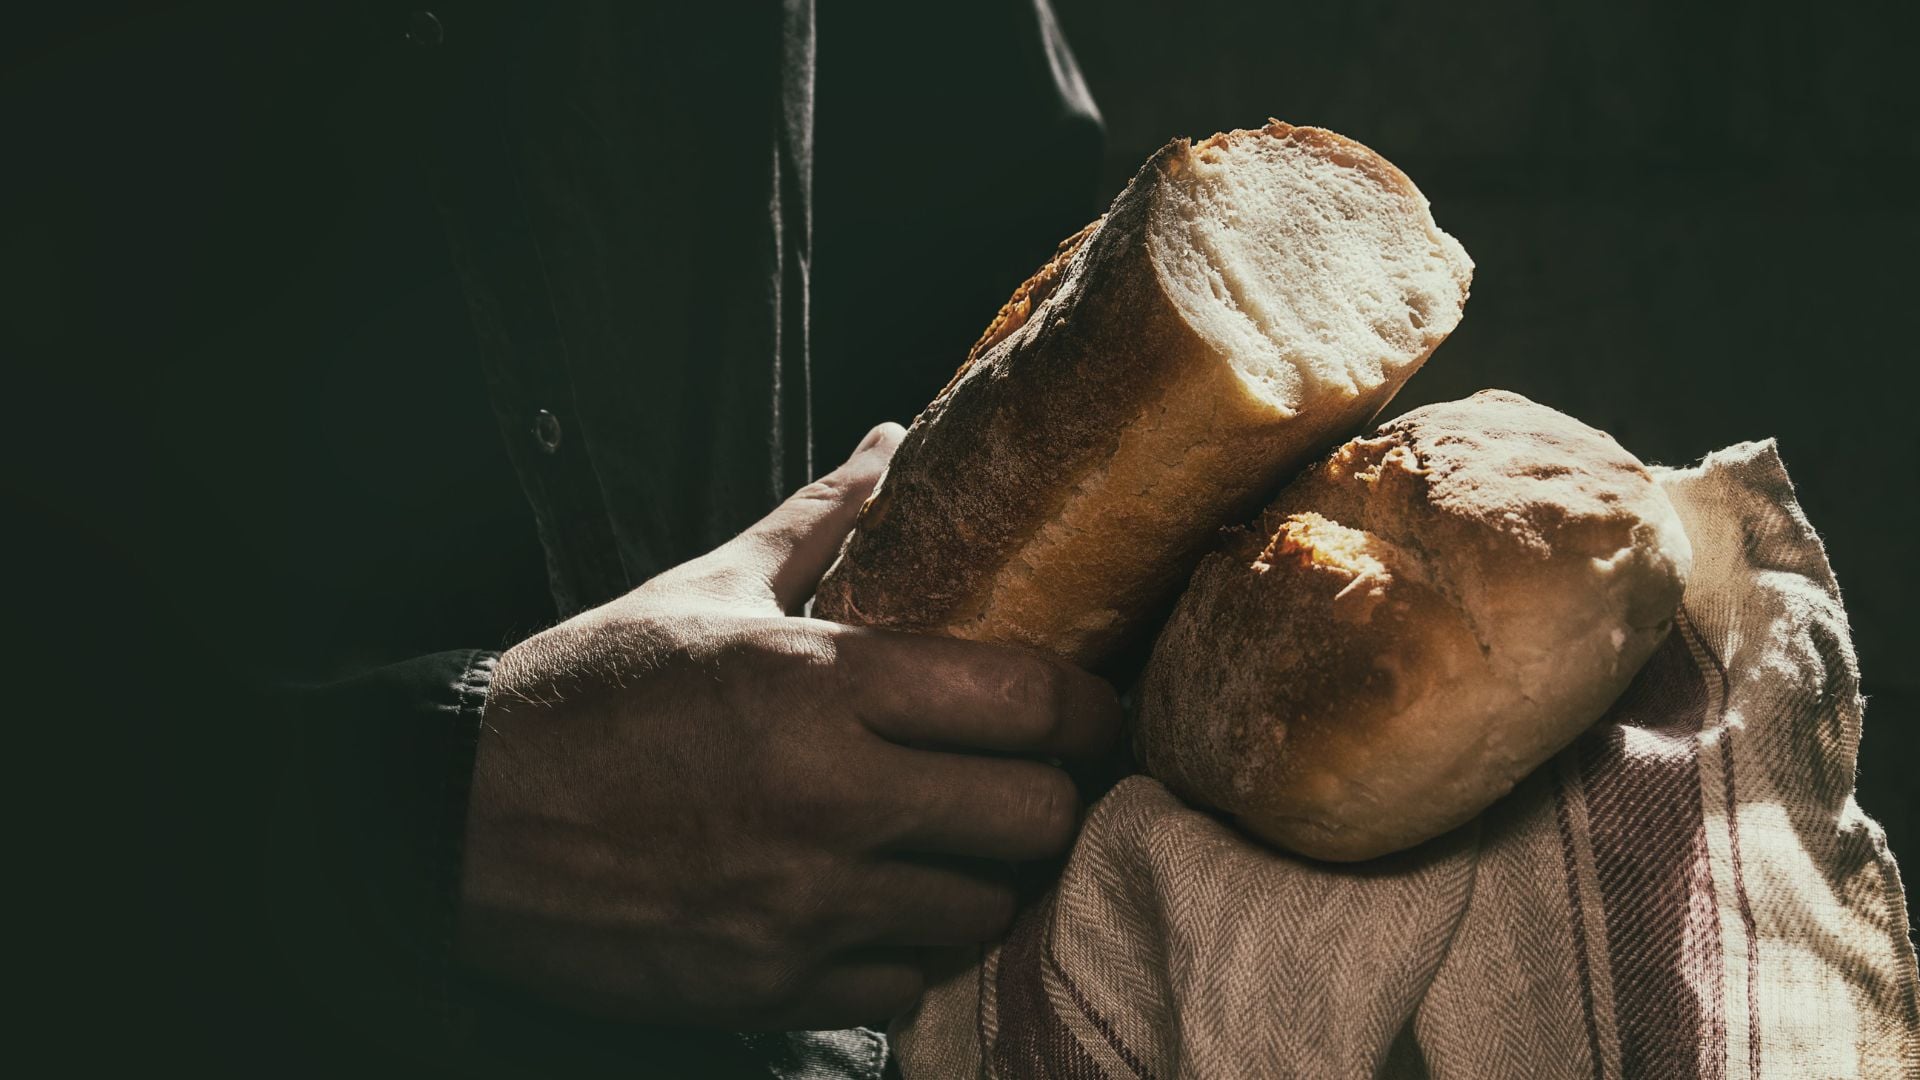
Examine the crumb structure by cutting a clean slice through the center of the cooled loaf. The pattern of holes tells you about gas production and retention. Large, irregular holes might indicate over-fermentation or uneven gluten development. A tight, dense crumb could mean the yeast didn't produce enough gas, or that the gluten network couldn't trap what was produced. An even, fine crumb might be exactly what you wanted, or it could indicate under-fermentation depending on the bread style you were attempting.
The crust provides another layer of information. Color develops through the Maillard reaction and caramelization, both temperature-dependent processes. A pale crust might indicate insufficient heat, too much steam during baking, or dough that was over-proofed and couldn't generate enough sugars for browning. Conversely, a crust that's too dark relative to the interior doneness suggests your oven was too hot or the bread was placed too close to a heat source.
Touch and taste complete the diagnostic picture. A gummy texture often points to underbaking or cutting the bread before it had fully cooled and set. Off flavors can indicate fermentation issues, whether from wild yeast contamination, over-fermentation that produced too much acetic acid, or simply stale flour that had gone rancid.
The most important shift in thinking is recognizing that bread problems rarely have single causes. A dense loaf might result from a combination of weak flour, insufficient kneading, and cool temperatures that slowed yeast activity. Understanding these interconnections helps you identify which factor was the primary culprit and which were contributing elements.
Structural Issues - When Bread Falls Flat
Dense, heavy bread is perhaps the most common disappointment for home bakers, but understanding why bread becomes dense unlocks solutions for achieving the light, airy structure you're seeking. The key insight is that bread structure depends on two critical elements working in harmony: gas production and gas retention.
Gas production is primarily the domain of yeast, though chemical leaveners and wild fermentation can contribute. As yeast consumes sugars in the flour, it produces carbon dioxide that creates the pressure needed to expand your dough. But production alone isn't enough. The dough must also be capable of trapping and holding these gases until the proteins coagulate during baking, setting the structure permanently.
This is where gluten development becomes crucial. Think of gluten as the framework that gives your bread its architecture. Properly developed gluten forms an elastic network that can stretch to accommodate expanding gases without tearing. Under-developed gluten creates weak spots where gases escape, leading to dense results despite adequate fermentation.
When you encounter a dense loaf, consider the gluten development process. Did you knead sufficiently, or if using a no-knead method, allow enough time for the proteins to align naturally? Different flours require different treatment. Bread flour with its higher protein content develops gluten more readily than all-purpose flour, while whole wheat flour needs extra hydration and gentler handling to avoid damaging the gluten strands with its sharp bran particles.
Hydration plays a fascinating role in bread structure. While it might seem counterintuitive, properly hydrated dough often produces lighter bread than drier dough. Water enables gluten proteins to align and connect, and it creates steam during baking that contributes to oven spring. However, too much water without proper technique can lead to structure collapse as the gluten network becomes too weak to support the increased gas production that high hydration typically generates.
The timing of fermentation dramatically affects structure. Under-fermented dough hasn't had sufficient time for yeast to produce adequate gas, resulting in dense bread regardless of gluten development. Over-fermented dough presents a different challenge: the gluten structure begins to break down from prolonged exposure to acidic byproducts of fermentation, losing its ability to trap gases effectively.
Temperature during fermentation influences both rate and quality of the process. Cold dough ferments slowly but develops more complex flavors and often better structure as the extended time allows for thorough gluten conditioning. Warm dough ferments quickly but can outpace gluten development, leading to collapse. The ideal temperature creates a balance where yeast activity and gluten conditioning proceed in harmony.
Shaping technique affects final structure more than many bakers realize. Proper shaping creates surface tension that helps the loaf maintain its form during the final proof and baking. Insufficient tension leads to spreading and poor rise, while excessive tension can create a tight crust that restricts oven spring.
Timing and Temperature - The Fermentation Dance
Fermentation timing might be the most misunderstood aspect of bread baking, yet it's often the difference between success and disappointment. Unlike the precision required for measuring ingredients, fermentation timing demands you read your dough's condition rather than simply watching the clock. This skill develops with experience, but understanding the science behind fermentation behavior accelerates your learning significantly.
Yeast activity is profoundly temperature-dependent, following patterns that every bread baker should internalize. At refrigerator temperatures around 40°F, yeast becomes nearly dormant, allowing extended slow fermentation that develops complex flavors without over-proofing. Room temperature around 70-75°F provides moderate, manageable fermentation rates. Warmer temperatures above 80°F accelerate activity dramatically, potentially leading to over-fermentation before you realize what's happening.
The visual and tactile cues of proper fermentation are more reliable than any timer. Under-fermented dough feels tight and resistant when gently pressed. It may have increased in size but lacks the soft, pillowy quality of properly developed dough. When shaped, it springs back quickly, indicating the gluten is still tense and the yeast hasn't had sufficient time to create proper gas cell structure.
Perfectly fermented dough feels alive in your hands. It's grown noticeably in size, typically doubling in bulk fermentation, and feels soft and slightly jiggly. When you gently press a finger into the surface, it springs back slowly, leaving a slight indentation that gradually fills in. This is the sweet spot where yeast has produced optimal gas while gluten remains strong enough to contain it.
Over-fermentation presents a different set of clues. The dough may have grown larger than expected and feels loose or slack when handled. A finger poke might leave a permanent indentation that doesn't fill back in, indicating the gluten structure has weakened. The surface might appear slightly wrinkled or loose, and the dough may spread more than usual when shaped. Over-fermented dough often produces bread with large, irregular holes and can have an overly tangy flavor from excessive acid production.
Environmental factors complicate fermentation timing in ways that even experienced bakers sometimes forget to consider. Ambient temperature affects not just the rate of fermentation but also the final character of your bread. Humidity levels influence how quickly the dough's surface forms a skin, which can impede proper rising. Even air pressure changes with weather patterns can subtly affect fermentation behavior.
The concept of fermentation percentage helps bakers communicate about timing more precisely than simply saying "let it rise until doubled." When a recipe calls for 80% fermentation, it means allowing the dough to increase to 1.8 times its original size. This provides a more consistent target than doubling, especially for enriched doughs that may not quite double even when perfectly fermented.
Retardation, or slowing fermentation through refrigeration, offers tremendous flexibility for home bakers while often improving bread quality. Cold fermentation allows flavors to develop more fully while providing a much wider window for baking. Many professional bakers prefer retarded fermentation specifically because it produces better flavor and more reliable timing.
The final proof deserves special attention because this is where many loaves are won or lost. Under-proofed bread will have poor oven spring and dense texture. Over-proofed bread may collapse in the oven or produce a flat loaf with large, irregular crumb structure. The ideal final proof leaves the shaped loaf feeling light and airy but still with enough structural integrity to support further expansion in the oven.
Surface and Flavor - The Final Performance
The final stages of bread making - scoring, baking, and cooling - represent the culmination of all your earlier work, yet many bakers underestimate how profoundly these steps affect the final result. Understanding the science behind crust formation, oven spring, and flavor development during baking helps you troubleshoot issues that appear only in the finished loaf.
Crust color and texture depend on complex chemical reactions that require specific conditions to proceed properly. The Maillard reaction, responsible for the appealing golden-brown color and complex flavors, needs adequate surface sugars and sufficient heat. Pale crusts often indicate insufficient oven temperature, excessive steam throughout baking, or dough that was over-proofed and depleted of surface sugars.
Steam plays a contradictory but crucial role in crust development. During the first portion of baking, steam keeps the crust flexible, allowing maximum oven spring as the bread expands rapidly in the heat. However, steam must be removed or reduced during the latter part of baking to allow proper browning and crisping. Many home bakers create beautiful oven spring with good steam but end up with pale, soft crusts because they don't vent the steam adequately.
Oven spring - the dramatic final rise that occurs in the first minutes of baking - represents the climax of fermentation. As the dough rapidly heats, gases expand, yeast makes its final burst of activity before dying off, and moisture converts to steam, creating internal pressure. Poor oven spring usually traces back to fermentation issues: over-proofed dough lacks the structural integrity to expand further, while under-proofed dough may not have developed sufficient gas cells for dramatic expansion.
The placement of your bread in the oven affects both crust development and overall baking. Bottom heat creates a crispy bottom crust, while top heat promotes browning. If your bread routinely burns on the bottom, try using a baking stone to moderate the heat transfer, or place your pans on a higher rack. Conversely, pale tops might benefit from moving closer to the top heating element during the final phase of baking.
Internal temperature provides the most reliable indicator of doneness, but understanding what those temperatures mean helps troubleshoot texture issues. Bread continues cooking after removing from the oven as residual heat completes protein coagulation and starch gelatinization. Underbaked bread feels gummy and may collapse slightly as it cools. The internal structure hasn't fully set, leaving a dense, moist crumb that's unpleasant to eat.
Cooling is perhaps the most overlooked phase of bread making, yet it's critical for proper texture development. Starches continue to transform during cooling, and moisture redistributes throughout the crumb. Cutting bread too early releases steam that should be redistributing, resulting in a gummy texture even if the bread was properly baked. The hardest part of bread making might be waiting for that perfect slice.
Off-flavors in bread often develop during fermentation or baking, and identifying their source helps prevent recurrence. Overly sour bread usually indicates over-fermentation or contamination with wild yeasts or bacteria. Bitter flavors might come from oxidized fats in the flour or over-development during mixing. Metallic tastes often trace to reactive bowls or tools, while stale flavors suggest old flour or insufficient fermentation time.
The environment during baking affects more than just crust color. Dry oven air creates different crust characteristics than humid conditions. Some bakers prefer the crispy, shattering crusts that develop in dry heat, while others favor the chewy, substantial crusts that form with steam. Understanding these preferences helps you adjust your technique to achieve the specific crust character you enjoy.
Conclusion
Troubleshooting bread isn't about memorizing a catalog of problems and solutions. Instead, it's about developing the observational skills and scientific understanding that transform you from someone who follows recipes to someone who truly comprehends their craft. Every loaf you bake, whether successful or challenging, adds to your knowledge base and sharpens your diagnostic abilities.
The journey from novice to confident baker involves learning to see patterns where once you saw only random outcomes. That dense loaf teaches you about gluten development. The over-proofed dough helps you recognize fermentation timing. The pale crust reveals the importance of steam management. Each experience builds upon the fundamental principles you've studied, creating a comprehensive understanding that serves you regardless of the specific recipe you're following.
Remember that even master bakers occasionally produce imperfect loaves. The difference isn't that they never encounter problems, but that they approach each challenge as an opportunity to refine their understanding. They ask why something happened, not just how to fix it next time. This curiosity-driven approach accelerates learning and builds the kind of deep knowledge that allows for creative adaptation and consistent results.
As you continue your bread baking journey, embrace both successes and failures as equally valuable teachers. Keep notes about what you observe - the feel of properly developed dough, the appearance of well-fermented bread, the sound of a fully baked loaf. These sensory memories become your internal reference library, enabling you to make better decisions in real time.
The skills you've developed through troubleshooting extend far beyond fixing problems. Understanding why bread behaves as it does empowers you to adapt recipes to your environment, modify techniques to suit your preferences, and eventually develop your own signature style. You're no longer dependent on perfect conditions or exact recipe adherence because you understand the underlying principles that make bread work.
Most importantly, approach each baking session with the confidence that comes from understanding, not just from following instructions. Trust your senses, question unexpected results, and remember that every loaf is an opportunity to apply and expand your knowledge. With this foundation, your bread baking will continue improving, becoming more intuitive and more satisfying with each successive attempt.